Introduction
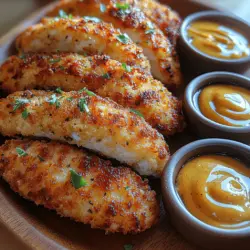
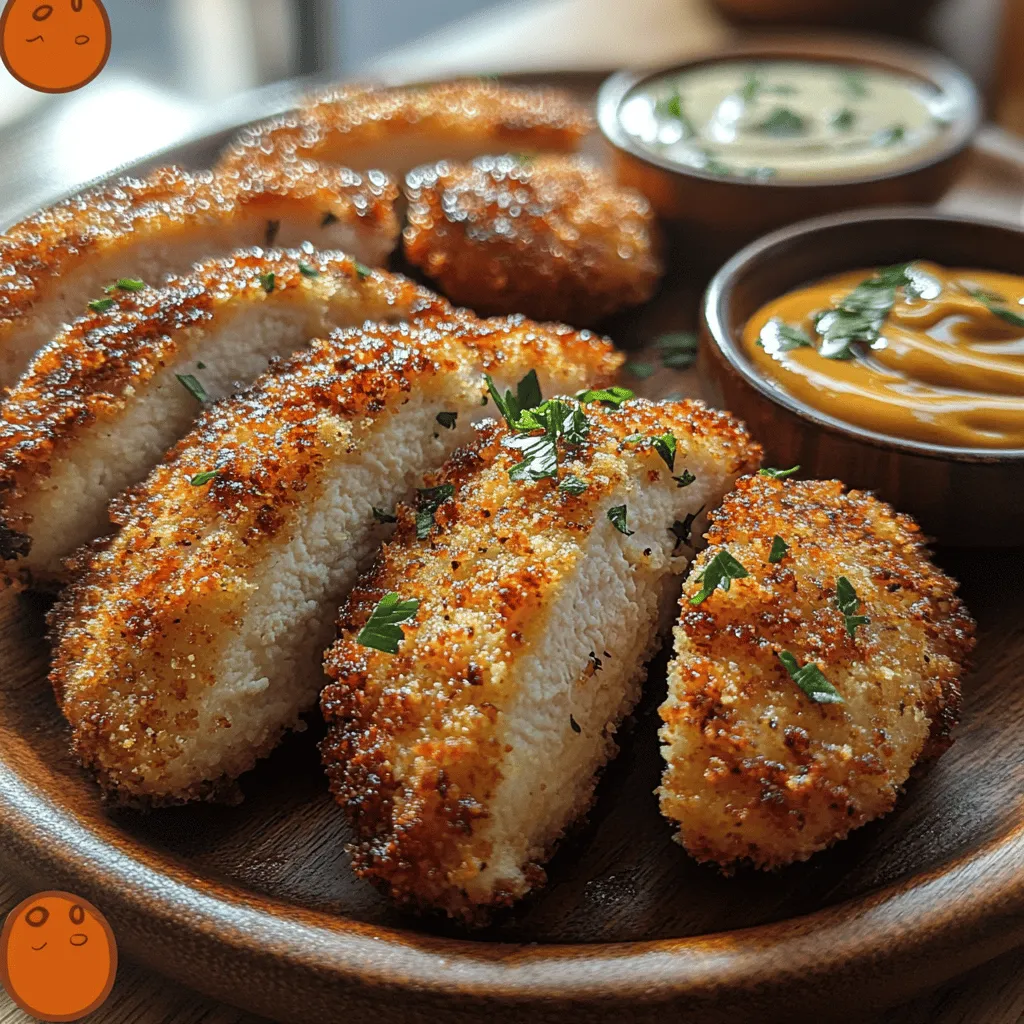
In the world of comfort food, few dishes can compete with the crispy, golden perfection of chicken tenders. Whether you are enjoying a cozy family dinner or hosting a lively gathering, chicken tenders have an undeniable charm that appeals to both kids and adults alike. The recipe for Golden Crunch Chicken Tenders takes this beloved dish to new heights by combining a flavorful marinade with a double-breading technique, resulting in an irresistibly crunchy exterior that encases tender and juicy chicken on the inside. The allure of these chicken tenders lies not only in their taste but also in their versatility—served as a main dish, a party appetizer, or even as a satisfying snack, they are sure to impress anyone who takes a bite.
Understanding the Appeal of Chicken Tenders
The Universal Love for Chicken Tenders
Chicken tenders have earned their place as a staple in American cuisine, transcending age and cultural boundaries. Their crispy texture and savory flavor make them an ideal choice for casual dining and gourmet meals alike. From fast-food chains to upscale restaurants, the popularity of chicken tenders is prevalent, often evoking nostalgic memories of childhood meals. Their appeal lies in their simplicity and the comforting crunch that brings joy to every bite.
Versatility in Serving Options
One of the standout features of chicken tenders is their versatility. They can be served in a variety of ways to cater to different occasions and preferences. Pair them with classic dipping sauces such as honey mustard, barbecue sauce, or ranch dressing for a traditional approach. For a more gourmet twist, consider serving them on a bed of greens with a drizzle of balsamic vinaigrette or alongside a medley of roasted vegetables. Additionally, chicken tenders can easily be transformed into a sandwich or wrap, making them a convenient option for a quick lunch or dinner. The possibilities are endless, making them a favorite for meal prep and entertaining alike.
Nutritional Benefits of Chicken Breast
Beyond their deliciousness, chicken tenders made with chicken breast offer a range of nutritional benefits. Chicken breast is a lean source of protein, which is essential for building and repairing tissues in the body. It is low in fat, making it an excellent option for those looking to maintain a healthy diet. Furthermore, chicken breast is packed with essential vitamins and minerals, including B vitamins, which are crucial for energy metabolism, and selenium, an antioxidant that supports immune function. By using chicken breast in this recipe, you can indulge in a tasty dish while also nourishing your body.
Ingredients Breakdown
To achieve the perfect Golden Crunch Chicken Tenders, it’s essential to understand the role of each ingredient in the recipe. The following breakdown highlights the main components that contribute to the flavor, texture, and overall success of this dish.
Overview of the Main Ingredients
The primary ingredients for Golden Crunch Chicken Tenders include fresh chicken breasts, buttermilk, a blend of spices, all-purpose flour, and panko breadcrumbs. Each ingredient plays a crucial role in creating that signature crunch and flavor profile that makes these chicken tenders stand out.
Importance of Each Ingredient in Achieving Flavor and Texture
– Chicken Breast: As the star ingredient, chicken breast is known for its mild flavor and tender texture. By using boneless, skinless chicken breasts, you ensure that the tenders remain juicy while allowing the surrounding flavors to shine through.
– Buttermilk: This ingredient is often considered the secret weapon in many fried chicken recipes. The acidity of buttermilk not only tenderizes the chicken but also helps to infuse it with flavor. Marinating the chicken in buttermilk allows it to soak up the spices, resulting in a more flavorful chicken tender.
– Spices: The right blend of spices can elevate chicken tenders from ordinary to extraordinary. In this recipe, a combination of garlic powder, onion powder, smoked paprika, and cayenne pepper is used. Garlic and onion powder provide a savory depth, while smoked paprika adds a subtle smokiness, and cayenne offers just a hint of heat to keep things interesting.
– Flour vs. Panko Breadcrumbs: The choice of breading is pivotal in achieving that coveted crunch. All-purpose flour provides a solid base layer, while panko breadcrumbs offer an extra crunch due to their larger, coarser texture. The combination of both creates a delightful contrast that enhances the overall eating experience.
Preparing the Chicken Tenders
Marination Process
The first step in creating the Golden Crunch Chicken Tenders is to prepare the chicken by marinating it in buttermilk and spices. Begin by cutting the chicken breasts into tender-sized strips, ensuring that they are uniform in size for even cooking. Next, place the chicken strips in a bowl or resealable plastic bag and cover them with buttermilk. To enhance the flavor, mix in the garlic powder, onion powder, smoked paprika, and cayenne pepper. Allow the chicken to marinate for at least one hour, but for the best results, consider letting it sit overnight. This longer marination time not only imparts more flavor but also results in a more tender bite.
Importance of Marinating Time
The marination time is crucial in this recipe. While one hour can yield tasty results, marinating overnight allows the chicken to absorb the flavors fully and break down proteins, resulting in an even more tender texture. This step is what sets apart mediocre chicken tenders from those that are truly exceptional.
Flavor Infusion Through Spices
During the marination process, the spices meld with the buttermilk, creating a flavorful brine that penetrates the chicken. This infusion of flavor is what will make each bite of the Golden Crunch Chicken Tenders a delightful experience. The spices not only enhance the taste but also contribute to a beautiful color when cooked.
Setting Up the Breading Station
Once the chicken has marinated, it’s time to set up your breading station. This will streamline the process and ensure that each piece of chicken is evenly coated. You will need three shallow dishes: one for the seasoned flour, one for the beaten eggs, and another for the panko breadcrumbs.
1. In the first dish, combine all-purpose flour with a pinch of salt and pepper, as well as any additional spices you prefer.
2. In the second dish, crack a couple of eggs and whisk them until smooth.
3. Finally, place the panko breadcrumbs in the third dish, ready for the final coating.
Explanation of the Three-Step Breading Process
The three-step breading process is essential for achieving that golden, crunchy exterior. Here’s how it works:
1. Dredging in Flour: Start by taking a marinated chicken strip and dredging it in the seasoned flour. This initial coating helps the egg adhere better in the next step.
2. Dipping in Egg: Next, dip the floured chicken into the beaten egg. This acts as a binding agent, ensuring that the panko breadcrumbs stick to the chicken.
3. Coating with Panko: Finally, press the chicken strip into the panko breadcrumbs, making sure it is evenly coated. This step is what gives the chicken tenders their signature crunch.
With the chicken tenders now prepared and breaded, the next steps will involve frying or baking them to crispy perfection. Stay tuned for the following sections, where we will discuss cooking methods, serving suggestions, and tips for achieving the best results.
Tips for Achieving the Perfect Coating
Creating the perfect coating for your Golden Crunch Chicken Tenders is pivotal to their flavor and texture. Here are some essential tips to ensure that your chicken tenders turn out golden, crunchy, and absolutely delicious.
Choose Quality Coating Ingredients
The foundation of a great coating starts with the ingredients. Use high-quality breadcrumbs or panko for the best crunch. Panko breadcrumbs are particularly effective because they are lighter and airier than traditional breadcrumbs, resulting in a crispier finish.
Double-Dip for Extra Crunch
For an even crunchier coating, consider double-dipping your chicken tenders. After coating the chicken in the egg wash, return it to the flour mixture before frying. This double layer will significantly enhance the crispiness and flavor.
Season Generously
Don’t shy away from seasoning your flour and breadcrumb mixture. A little garlic powder, onion powder, smoked paprika, or even cayenne pepper can elevate the flavor profile of your chicken tenders. Make sure to taste as you go and adjust the seasonings.
Let the Coating Rest
Once your chicken tenders are coated, let them rest on a wire rack for about 10-15 minutes before frying. This resting period allows the coating to adhere better to the chicken, preventing it from falling off during frying.
The Cooking Process
Choosing the Right Oil for Frying
Selecting the appropriate oil for frying is crucial for achieving that perfectly golden crunch. Oils with high smoke points are best for frying chicken tenders. They not only fry the chicken evenly but also help maintain the integrity of the coating.
Best Types of Vegetable Oil for Frying
Several oils work well for frying chicken tenders:
– Canola Oil: Affordable and with a high smoke point, canola oil is a popular choice for frying.
– Peanut Oil: Known for its nutty flavor, peanut oil has a very high smoke point and is great for frying.
– Sunflower Oil: Similar to canola, sunflower oil is light and has a high smoke point, making it an excellent option for frying.
– Vegetable Oil: A blend of different oils, vegetable oil is versatile and works well in frying applications.
Understanding Frying Temperatures
Frying at the right temperature is essential. The ideal frying temperature for chicken tenders is around 350°F to 375°F (175°C to 190°C). If the oil is too hot, the coating will burn before the chicken cooks through. If it’s not hot enough, the chicken will absorb too much oil and become greasy. A thermometer can help you maintain the perfect frying temperature.
Step-by-Step Frying Instructions
1. Heat the Oil: In a heavy-bottomed skillet or deep fryer, pour in enough oil to submerge the chicken tenders halfway. Heat the oil over medium-high heat until it reaches 350°F to 375°F.
2. Fry in Batches: Carefully add a few chicken tenders to the hot oil, making sure not to overcrowd the pan. Fry in batches to maintain the oil temperature and achieve an even golden color.
3. Fry Until Golden: Cook the tenders for about 3-5 minutes on each side, or until they are golden brown and cooked through. The internal temperature should reach 165°F (74°C).
4. Drain Excess Oil: Once cooked, remove the chicken tenders from the oil and place them on a wire rack or paper towels to drain excess oil.
Importance of Frying in Batches
Frying in batches is critical to ensure that the oil temperature remains consistent. Overcrowding the pan can drop the oil temperature, leading to soggy tenders. By frying in manageable batches, you guarantee that each tender receives the right amount of heat for even cooking and crispiness.
How to Check for Doneness
To ensure that your chicken tenders are fully cooked, use a meat thermometer to check the internal temperature. Insert the thermometer into the thickest part of the chicken—the temperature should read at least 165°F (74°C). This ensures that the chicken is safe to eat while still being juicy.
Serving Suggestions
Ideas for Dipping Sauces
Golden Crunch Chicken Tenders are delicious on their own, but pairing them with the right dipping sauces can elevate your meal to the next level. Here are some popular choices:
– Honey Mustard: A perfect balance of sweet and tangy, honey mustard is a classic choice that complements the savory flavors of the chicken.
– Ranch Dressing: Creamy and herby, ranch dressing offers a refreshing contrast to the crispy chicken.
– Barbecue Sauce: For those who enjoy a smoky flavor, barbecue sauce adds a delightful kick to your chicken tenders.
Homemade versus Store-Bought Options
While store-bought sauces are convenient, making your own can be a fun and rewarding experience. A simple honey mustard can be made by mixing equal parts honey and Dijon mustard, while ranch can be whipped up using buttermilk, mayonnaise, and herbs. Experimenting with homemade sauces allows you to customize flavors to your liking.
Pairing with Side Dishes
To create a well-rounded meal, consider pairing your chicken tenders with complementary side dishes. Here are a few suggestions:
– French Fries: A classic pairing, crispy French fries are always a hit with chicken tenders.
– Coleslaw: The crunch and creaminess of coleslaw provide a refreshing contrast to the hot chicken.
– Salads: A light green salad can add a nutritious element to your meal, balancing the richness of the fried chicken.
Storage and Reheating
Best Practices for Storing Leftovers
If you have leftover chicken tenders, it’s important to store them properly to maintain their quality. Allow the chicken to cool to room temperature before storing. Place them in an airtight container lined with paper towels to absorb any moisture and help keep the coating crispy.
Refrigeration Tips
Store the chicken tenders in the refrigerator for up to 3-4 days. Make sure the container is tightly sealed to prevent any odors from the fridge from affecting the chicken’s flavor.
Freezing Options for Meal Prep
For longer storage, you can freeze the chicken tenders. Place the cooled tenders in a single layer on a baking sheet and freeze them until solid. Once frozen, transfer them to a freezer-safe bag or container. They can be stored in the freezer for up to three months.
How to Reheat Chicken Tenders While Maintaining Crispiness
To reheat chicken tenders and keep them crispy, avoid the microwave, as it tends to make the coating soggy. Instead, reheat them in the oven or air fryer:
1. Oven: Preheat the oven to 400°F (200°C). Place the chicken tenders on a wire rack over a baking sheet to allow air circulation. Heat for about 10-15 minutes, or until heated through and crispy.
2. Air Fryer: Preheat the air fryer to 375°F (190°C). Place the chicken tenders in the basket in a single layer and heat for about 5-7 minutes, checking for crispiness and warmth.
Conclusion
Golden Crunch Chicken Tenders are a delightful blend of flavor, texture, and comfort. With a straightforward recipe and accessible ingredients, you can enjoy this beloved dish any night of the week. Whether you’re hosting a gathering or simply craving a tasty meal, these chicken tenders are sure to satisfy. The combination of a perfectly seasoned coating, paired with a variety of dipping sauces and side dishes, creates an experience that appeals to everyone at the table.
Enjoy the process of making this scrumptious dish, and delight in the smiles it brings to the table. Your family and friends will appreciate the effort, and you’ll find that these chicken tenders become a staple in your cooking repertoire. Happy cooking!