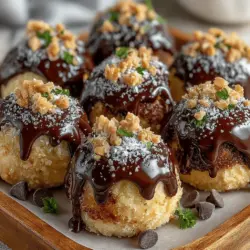
Frozen Yogurt Chocolate Peanut Butter Bombs Recipe
In the world of culinary delights, frozen treats have carved out a special niche, appealing to both dessert lovers and health-conscious snackers alike. As summer approaches or when cravings strike, frozen snacks become an irresistible go-to. They provide a refreshing way to indulge without the guilt, especially when made with wholesome ingredients. One such delectable treat that perfectly balances indulgence with nutrition is the Frozen Yogurt Chocolate Peanut Butter Bombs.
These delightful bites are not just a treat for the taste buds; they are an embodiment of a harmonious blend of creamy yogurt, rich peanut butter, and decadent chocolate. Whether you enjoy them as a post-workout snack, a mid-afternoon pick-me-up, or a sweet dessert option, these frozen yogurt bombs deliver on flavor without compromising your health goals.
The Perfect Combination
The allure of Frozen Yogurt Chocolate Peanut Butter Bombs lies in their unique combination of ingredients that together create a creamy, satisfying, and nutrient-dense snack. With each bite, you experience the smoothness of yogurt, the depth of peanut butter, and the richness of chocolate, making them an exceptional treat that caters to various dietary preferences.
These frozen morsels are not only delicious but also relatively simple to prepare. They can be made in advance, making them a convenient option for busy days or spontaneous cravings. The versatility of the ingredients allows for customization, making it easy to tailor the recipe to your tastes or dietary needs.
Understanding the Ingredients
Before diving into the recipe, it’s essential to understand the key ingredients that make these Frozen Yogurt Chocolate Peanut Butter Bombs both delicious and nutritious. Each component is carefully chosen for its flavor and health benefits.
– Greek Yogurt: This creamy base is not only rich and satisfying but also packed with protein and probiotics. The high protein content helps keep you feeling full, making it an excellent choice for a snack. Probiotics also contribute to gut health, offering digestive benefits.
– Peanut Butter: A staple in many kitchens, peanut butter is beloved for its creamy texture and nutty flavor. It is an excellent source of healthy fats and protein, making it a great addition to any snack. When choosing peanut butter, you can opt for creamy or chunky based on your texture preference, both of which provide similar nutritional benefits.
– Honey or Maple Syrup: As natural sweeteners, honey and maple syrup bring a touch of sweetness while also offering some health benefits. Honey is known for its antibacterial properties and is often touted for its ability to soothe sore throats. Maple syrup, on the other hand, contains antioxidants and minerals such as manganese and zinc. Choosing between the two often comes down to personal taste, as both can enhance the flavor of your yogurt bombs.
– Dark Chocolate: This indulgent ingredient adds a rich flavor while also providing health benefits. Dark chocolate is known for its high antioxidant content, which can help reduce inflammation and improve heart health. Opting for dark chocolate with a higher cocoa content can maximize these benefits while also satisfying your chocolate cravings.
– Coconut Oil: Used primarily for melting chocolate, coconut oil also boasts several health benefits, including medium-chain triglycerides (MCTs) that may support weight management and increased energy levels. It helps create a smooth coating around the yogurt bombs, adding to their deliciousness.
– Optional Toppings: To elevate your Frozen Yogurt Chocolate Peanut Butter Bombs, consider adding toppings such as crushed nuts, mini chocolate chips, or shredded coconut. These additions not only enhance the flavor and texture but also increase the nutritional profile of your treat.
Step-by-Step Guide to Making Frozen Yogurt Chocolate Peanut Butter Bombs
Now that you’re acquainted with the ingredients and their benefits, it’s time to roll up your sleeves and start creating your own Frozen Yogurt Chocolate Peanut Butter Bombs. Follow this detailed step-by-step guide to ensure your treats turn out perfectly.
1. Mixing the Base
Begin by gathering all your ingredients and ensuring you have the necessary equipment, such as a mixing bowl, a spoon or spatula, and a silicone mold or ice cube tray. The first step in the process is to combine the Greek yogurt, peanut butter, and your choice of sweetener in a mixing bowl.
It’s crucial to achieve a smooth consistency during this stage. Take your time to blend the ingredients thoroughly until they are well-integrated. The mixture should be creamy and uniform, free of lumps. This step is essential, as a smooth base will lead to a better texture in the final product. If you find that the peanut butter is too thick, you can warm it slightly in the microwave to make it easier to mix.
2. Shaping the Bombs
Once your mixture is ready, it’s time to shape the bomb. Using a spoon or a cookie scoop, portion out the mixture into your chosen mold. Aim for consistent sizes to ensure even freezing and a uniform presentation. If you’re using an ice cube tray, you can fill each compartment about three-quarters full, leaving some space for expansion as they freeze.
If you want to add toppings such as crushed nuts or mini chocolate chips, sprinkle them on top of each bomb before placing them in the freezer. This will not only enhance the flavor but also provide visual appeal once they are set.
3. Freezing Process
The final step in this initial phase is to freeze your yogurt bombs. Carefully place the filled mold in the freezer and allow them to set for at least 4 to 6 hours, or until they are completely firm. Proper freezing is crucial for achieving the right texture; unduly soft bombs may fall apart when you try to remove them from the mold.
After the freezing time is complete, you can gently pop the yogurt bombs out of the mold. If they are stuck, you can run a little warm water over the outside of the mold to help loosen them.
With these steps completed, your Frozen Yogurt Chocolate Peanut Butter Bombs are ready to be enjoyed! They are a delicious and nutritious snack that you can feel good about indulging in any time of day. Stay tuned for the next part of the article, where we will explore additional serving suggestions, storage tips, and variations to this delightful recipe.
Melting Chocolate: Best Practices for Melting Chocolate Evenly Without Burning
Melting chocolate may seem straightforward, but it requires careful attention to avoid burning or seizing. Here are the best practices for achieving perfectly melted chocolate:
1. Chop Chocolate Evenly: Start by chopping your chocolate into small, uniform pieces. This ensures even melting and prevents some pieces from burning while others remain solid.
2. Use a Double Boiler: This is the most effective method for melting chocolate. Fill a saucepan with a few inches of water and bring it to a simmer. Place a heat-safe bowl on top, ensuring it doesn’t touch the water. Add the chopped chocolate and stir gently until melted.
3. Microwave Method: If you prefer the microwave, place the chopped chocolate in a microwave-safe bowl. Heat in 30-second intervals at medium power, stirring after each interval until fully melted. This prevents overheating.
4. Add a Fat: To create a smoother consistency, consider adding a small amount of coconut oil or vegetable shortening to the chocolate before melting.
5. Monitor Temperature: Aim for a temperature of about 110-120°F (43-49°C). If the chocolate is too hot, it can lose its temper, leading to a dull finish when it cools.
By following these tips, you can ensure that your chocolate melts smoothly and is perfect for coating your yogurt bombs.
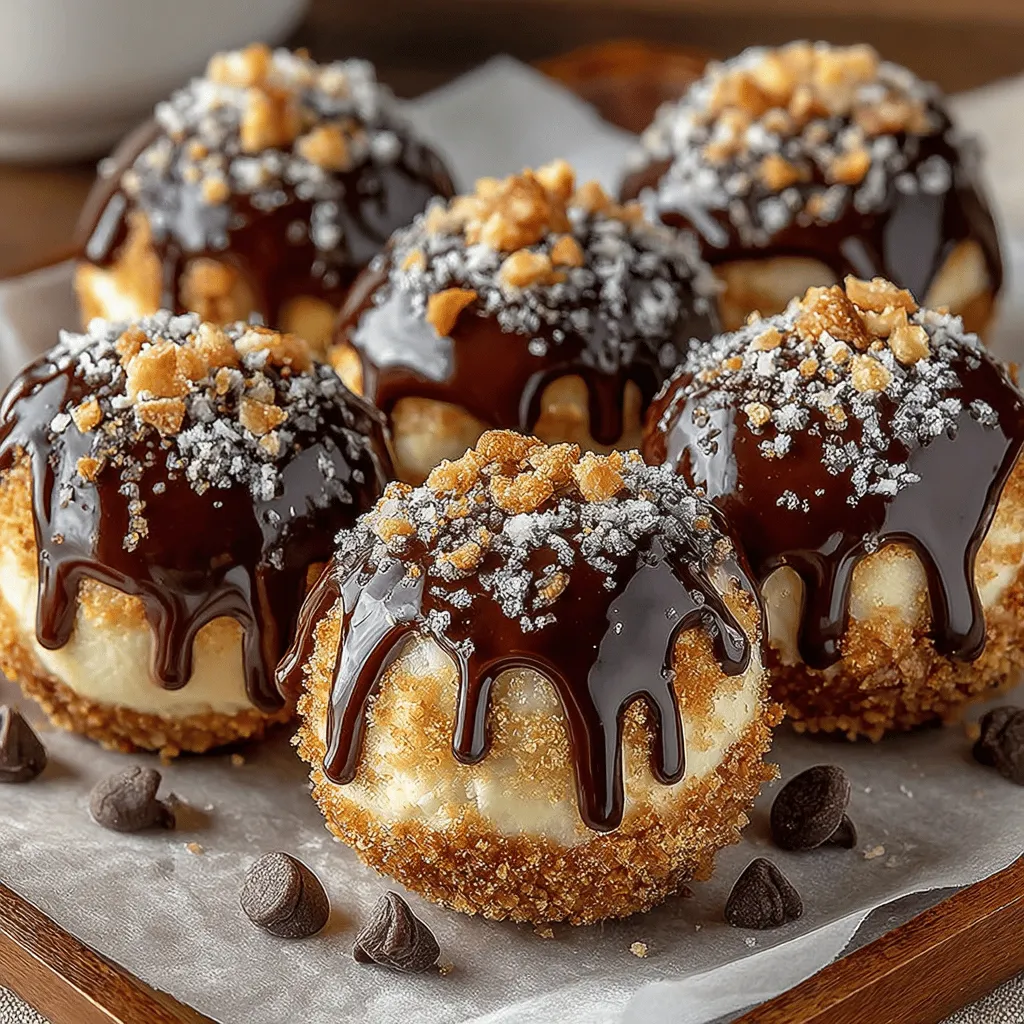
Coating the Bombs: Techniques for Ensuring a Smooth Chocolate Coating
Once your chocolate is melted, it’s time to coat the frozen yogurt peanut butter bombs. A smooth coating not only enhances the presentation but also contributes to the taste. Here are some techniques to achieve that:
1. Work Quickly: Chocolate can begin to set quickly once removed from heat. Have all your ingredients ready to dip the bombs immediately after melting.
2. Use a Skewer or Fork: To dip each yogurt bomb, use a skewer or fork to hold them. This allows for easy dipping and prevents your hands from getting messy.
3. Tap Off Excess: After dipping, gently tap the skewer against the side of the bowl to remove excess chocolate. This helps create a thinner, more even coat.
4. Place on Parchment Paper: Once coated, place the yogurt bombs on a parchment-lined baking sheet. This prevents sticking and makes for easy cleanup.
5. Layering Flavors: For a thicker chocolate layer, allow the first coat to set slightly in the freezer before applying a second layer of chocolate.
Following these techniques will result in beautifully coated frozen yogurt chocolate peanut butter bombs that are as appealing to the eye as they are to the palate.
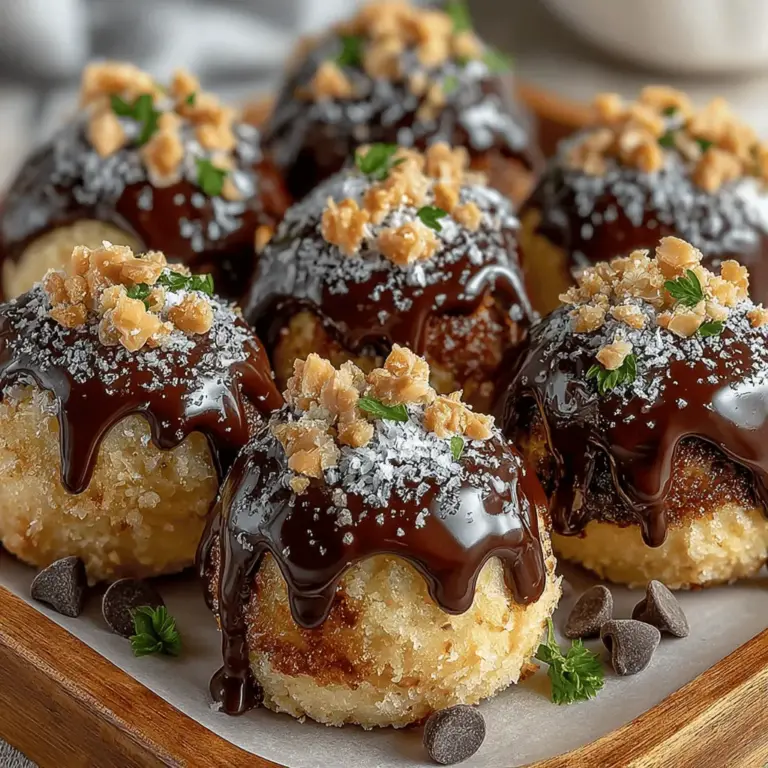
Adding Toppings: Suggestions for Creative and Delicious Topping Combinations
Toppings can elevate your Frozen Yogurt Chocolate Peanut Butter Bombs from simple to sensational. Here are some creative suggestions:
1. Chopped Nuts: Sprinkle chopped peanuts, almonds, or walnuts on the chocolate coating before it sets for added crunch and flavor.
2. Coconut Flakes: Unsweetened coconut flakes provide a tropical twist and a chewy texture.
3. Sea Salt: A light sprinkle of flaky sea salt can enhance the sweetness of the chocolate and balance the richness of the peanut butter.
4. Drizzled Chocolate: After the bombs are coated and set, drizzle white or dark chocolate over the top for a decorative and delicious finish.
5. Healthier Options: For a nutritious touch, consider rolling the bombs in crushed freeze-dried fruits or seeds (like chia or flaxseed) for added fiber and nutrients.
These toppings not only add visual appeal but also introduce new flavors and textures to your yogurt bombs, making them even more delightful.
Final Freeze: Importance of Allowing Extra Time for the Chocolate to Set Properly
After coating your yogurt bombs, it’s essential to allow them to freeze completely. Here’s why this step is crucial:
1. Texture: Proper freezing ensures that the chocolate coating sets firmly, creating a satisfying crunch when bitten into and preventing it from melting too quickly.
2. Flavor Development: Allowing the bombs to sit in the freezer for an extended time (at least 30 minutes) allows flavors to meld, enhancing the overall taste of the treat.
3. Ease of Handling: Well-frozen treats are easier to serve and eat. They won’t fall apart when you take a bite, making for a more enjoyable experience.
4. Shelf Stability: Properly set chocolate helps to keep the yogurt bombs intact during storage, maintaining their shape and quality longer.
Taking the time to ensure your chocolate is set will lead to a more enjoyable and mess-free eating experience.
Nutritional Profile of Frozen Yogurt Chocolate Peanut Butter Bombs
Understanding the nutritional content of your treats can help you enjoy them guilt-free. Here’s a breakdown of the nutritional profile of Frozen Yogurt Chocolate Peanut Butter Bombs:
– Calories: Each bomb typically contains around 100-120 calories, depending on the ingredients used.
– Macronutrients:
– Protein: Approximately 4-5 grams, thanks to the yogurt and peanut butter.
– Carbohydrates: About 10-15 grams, primarily from the yogurt and any added sweeteners.
– Fats: Roughly 6-8 grams, mainly from the chocolate and peanut butter.
Health Benefits
– Lower Sugar Content: Unlike many store-bought desserts, these bombs can be made with minimal added sugars, making them a healthier option.
– High in Protein: The yogurt and peanut butter provide a good source of protein, helping to keep you full longer.
– Rich in Healthy Fats: The use of natural peanut butter contributes healthy fats, which are beneficial for heart health.
Comparison to Other Popular Snacks
When compared to traditional desserts like cookies or brownies, these yogurt bombs stand out as a healthier alternative. They offer similar satisfaction without the high sugar and calorie count often found in conventional sweets.
Dietary Lifestyles
These bombs are versatile enough to fit into various dietary lifestyles:
– Gluten-Free: Made with gluten-free ingredients, they’re suitable for those with gluten sensitivities.
– Higher Protein Diets: Great for individuals looking to increase their protein intake, especially after workouts.
– Vegetarian: As they’re made primarily from plant-based ingredients, these treats are perfect for vegetarians.
Serving Suggestions and Pairings
Frozen Yogurt Chocolate Peanut Butter Bombs can be enjoyed in various ways:
1. As a Snack: They make for a perfect mid-afternoon snack or post-workout treat, providing a satisfying balance of protein and healthy fats.
2. With Smoothies: Pair these bombs with a fruit smoothie for a delicious and nutritious breakfast or snack. The creamy texture of the smoothie complements the chocolatey goodness of the bombs.
3. Herbal Teas: Enjoy them alongside a warm cup of herbal tea, which can enhance the flavors and make for a comforting treat.
4. At Parties: Serve these bombs as a fun and healthy dessert option at gatherings. They can be displayed on a platter, drizzled with additional chocolate, and garnished with fresh fruit or nuts for an eye-catching presentation.
5. Ice Cream Alternative: For a cool treat on a hot day, serve alongside a bowl of frozen yogurt instead of traditional ice cream.
These versatile serving suggestions not only enhance your enjoyment of the yogurt bombs but also encourage creativity in how you present and share them.
Storage and Shelf Life
Proper storage is key to maintaining the quality of your Frozen Yogurt Chocolate Peanut Butter Bombs. Here are some best practices:
1. Freezing: Store the bombs in an airtight container or a freezer bag to prevent freezer burn. Layer parchment paper between them if stacking to prevent sticking.
2. Shelf Life: When stored properly, these bombs can last in the freezer for up to three months. However, for the best taste and texture, consume them within the first month.
3. Signs of Spoilage: If there’s any noticeable change in texture, color, or flavor, it’s best to discard the bombs. Look for signs of ice crystals or a dull chocolate coating as indicators that they may no longer be at their best.
By following these storage tips, you can ensure that your yogurt bombs remain delicious and enjoyable for as long as possible.
Conclusion
Frozen Yogurt Chocolate Peanut Butter Bombs are not only a delicious treat but also a nutritious one. With a delightful combination of creamy yogurt, rich peanut butter, and smooth chocolate, they are perfect for satisfying your sweet tooth while keeping your health in mind.
Encourage your friends and family to try making this simple recipe and indulge in a guilt-free dessert. The beauty of this recipe lies in its versatility, allowing for customization based on personal preferences and dietary needs. With endless topping options and the ability to adapt the flavors, these yogurt bombs can be a staple in any healthy lifestyle.
Try this recipe today and discover how easy it is to create a mouthwatering treat that everyone will love!