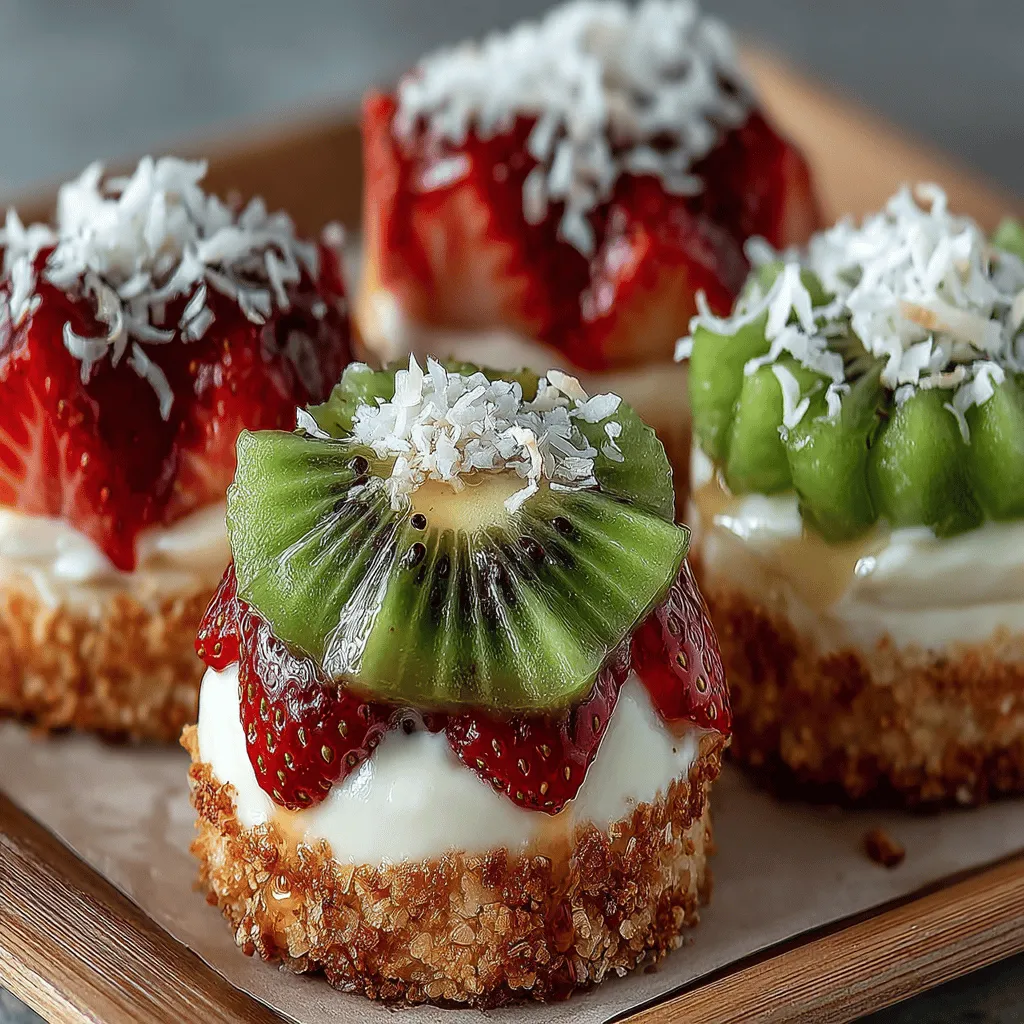
Kiwi Strawberry Bliss Bites: A Refreshing Snack for All Occasions
In the world of snacks, finding the perfect blend of taste, nutrition, and refreshment can often feel like a challenging quest. Enter Kiwi Strawberry Bliss Bites—a delightful treat that brings together the tangy sweetness of fresh fruits with the creamy goodness of Greek yogurt. This recipe not only satisfies your sweet tooth but also packs a nutritional punch, making it a perfect summer snack or a healthy dessert option. As we delve into the details of this refreshing recipe, you will discover how easy it is to create these blissful bites that are sure to impress family and friends alike.
Understanding the Ingredients
Before diving into the preparation process, it’s essential to understand the key ingredients that make Kiwi Strawberry Bliss Bites not just delicious but also nutritious.
Exploring the Nutritional Benefits of Kiwi and Strawberries
Kiwis and strawberries are often celebrated for their vibrant colors and delectable flavors, but they also boast an impressive array of health benefits. Both fruits are low in calories yet high in essential vitamins and minerals, making them an ideal choice for those watching their weight or looking to boost their overall health.
Kiwis: These small, brown, fuzzy fruits are nutritional powerhouses. They are rich in vitamin C, vitamin K, and vitamin E, which play vital roles in boosting the immune system, promoting healthy skin, and enhancing overall bodily functions. Kiwis are also an excellent source of dietary fiber, which aids digestion and helps maintain a healthy gut. Additionally, the antioxidants found in kiwis can combat oxidative stress, potentially lowering the risk of chronic diseases.
Strawberries: These vibrant red berries are not only a treat for the taste buds but also come packed with antioxidants, particularly anthocyanins, which give strawberries their rich color and have been linked to improved heart health. They are also an excellent source of vitamin C, manganese, folate, and potassium. Furthermore, strawberries are low in carbohydrates and high in water content, making them a hydrating snack that can help you feel full without adding excess calories to your diet.
When combined, kiwis and strawberries offer a burst of flavor that is both refreshing and satisfying, making them the perfect base for our bliss bites.
The Role of Greek Yogurt in the Recipe
Greek yogurt is a staple ingredient in many healthy recipes, and for a good reason. Compared to regular yogurt, Greek yogurt is strained to remove excess whey, resulting in a thicker texture and a higher protein content. This elevated protein level not only promotes muscle growth and repair but also keeps you feeling satiated for longer periods.
In the context of our Kiwi Strawberry Bliss Bites, Greek yogurt adds a creamy richness that balances the tanginess of the fruits. Its smooth texture helps bind the ingredients together, while its mild flavor enhances the overall taste without overpowering the natural sweetness of the fruits. Moreover, Greek yogurt is a source of probiotics, which support gut health and contribute to a balanced digestive system.
Sweetening the Deal: Honey vs. Agave Syrup
To elevate the flavors of our Kiwi Strawberry Bliss Bites, we need a natural sweetener. Here, we’ll compare two popular options: honey and agave syrup. Both sweeteners offer a healthier alternative to refined sugars, but they have distinct characteristics that may influence your choice depending on dietary preferences.
Honey: Known for its rich flavor and numerous health benefits, honey is a natural sweetener produced by bees. It contains antioxidants, has anti-inflammatory properties, and can act as a soothing agent for sore throats. However, honey is not suitable for vegans, and its glycemic index can vary depending on the type of honey you choose. For those seeking a natural sweetener that also adds a depth of flavor, honey might be the preferred option.
Agave Syrup: Derived from the agave plant, agave syrup is often marketed as a vegan-friendly alternative to honey. It is sweeter than sugar, meaning you can use less of it, which can be beneficial if you’re watching your caloric intake. However, agave syrup has a high fructose content, which some health experts advise against in large quantities. When selecting a sweetener for your Kiwi Strawberry Bliss Bites, consider your dietary needs and personal preferences to determine the best fit.
The Preparation Process
Now that we’ve explored the ingredients, let’s dive into the preparation process. Creating Kiwi Strawberry Bliss Bites is straightforward and requires minimal kitchen expertise, making it an excellent choice for both novice and experienced cooks.
Creating the Yogurt Mixture
To start, you’ll need to gather your ingredients:
– 1 cup of Greek yogurt
– 1 tablespoon of honey or agave syrup (adjust based on your sweetness preference)
– A pinch of sea salt
– 1 teaspoon of vanilla extract
– 1 ripe kiwi, peeled and diced
– 1 cup of strawberries, hulled and chopped
1. Mix the Yogurt: In a mixing bowl, combine the Greek yogurt, honey or agave syrup, sea salt, and vanilla extract. Using a whisk or a spatula, stir until the mixture is smooth and creamy. This step is crucial as it establishes the base flavor for your bliss bites. The balance between the sweetness of the honey or agave syrup and the slight saltiness will enhance the overall flavor.
2. Incorporate the Fruits: Once your yogurt mixture is well combined, gently fold in the diced kiwi and chopped strawberries. Be careful not to overmix, as you want to maintain some texture from the fruits. The vibrant colors of the kiwi and strawberries will make the mixture visually appealing, adding to the anticipation of the final product.
3. Taste Test: Before moving on to the next step, take a moment to taste the mixture. This is your opportunity to adjust the sweetness or flavor profile if needed. If you prefer a sweeter bite, add a touch more honey or agave syrup.
Setting Up Your Freezing Station
Once your yogurt and fruit mixture is complete, you’ll need to prepare your kitchen space for freezing. This step is essential for ensuring your Kiwi Strawberry Bliss Bites set properly and maintain their delightful shape.
1. Choose the Right Containers: For freezing, silicone molds or ice cube trays work best. If you don’t have either, small paper cups can also be used. The key is to select a container that allows for easy removal of the bites once they are frozen.
2. Fill the Molds: Carefully spoon the yogurt-fruit mixture into your chosen containers, filling them to the top but leaving a little space for expansion as they freeze. Use a spatula to smooth the tops for an even finish.
3. Prepare for Freezing: Place your filled molds in the freezer. If you are using paper cups, you may want to place them on a tray to catch any spills. Ensure that the molds are level to avoid any uneven freezing.
4. Timing is Key: Allow the bites to freeze for at least 4-6 hours, or until completely solid. This step is crucial, as it determines the texture of your final product. The longer you freeze them, the firmer they will become.
By following these initial steps, you’ll be well on your way to creating your own batch of Kiwi Strawberry Bliss Bites that are not only a feast for the senses but also a nourishing snack option for any occasion. Stay tuned for the next part of the article, where we’ll delve into tips for serving, storing, and enjoying these delightful bites.
Dipping and Arranging the Fruits
The Art of Coating Fruits with Yogurt
Coating your kiwi and strawberry slices with yogurt is not only about flavor; it’s about achieving the perfect texture that enhances the overall experience of your Kiwi Strawberry Bliss Bites. Begin by using a high-quality yogurt—greek yogurt provides a thicker consistency that clings beautifully to the fruit, while regular yogurt offers a lighter coating.
To coat the fruits effectively, follow these techniques:
1. Slice Preparation: Make sure your kiwi and strawberries are sliced evenly. For kiwis, cut them into 1/4-inch thick rounds or half-moons, and for strawberries, slice them into uniform rounds if they’re small or halve them for larger strawberries. Consistency in size ensures even coating and uniform freezing.
2. Dipping Method: Use a fork or a skewer to dip each slice into the yogurt. This allows you to coat the fruit without getting your hands messy. Swirl the fruit in the yogurt until it’s fully covered.
3. Even Coverage: Ensure that each slice is evenly coated. This is essential not just for aesthetics, but also for texture, as the yogurt coating will create a creamy exterior that contrasts beautifully with the fresh fruit inside. If you notice any bare spots on the fruit, simply dip them again.
Arranging the Slices on the Baking Sheet
Once your fruit slices are coated, it’s time to arrange them on a baking sheet lined with parchment paper. Spacing is key here; leaving enough room between each piece prevents them from sticking together during the freezing process.
– Spacing Out the Fruit: Aim for about half an inch of space between each slice. This ensures that air can circulate around each piece, leading to a more consistent freeze. If they touch, they may freeze together, making it difficult to separate them later.
– Aesthetic Considerations: Consider the visual appeal of your arrangement. You can create a pattern with alternating kiwi and strawberry slices or arrange them in colorful clusters. A well-arranged tray not only looks inviting but also makes serving easy.
Freezing for Perfection
Understanding the Freezing Process
The freezing process is crucial for transforming your yogurt-coated fruits into delightful bliss bites. When frozen, the yogurt hardens, creating a creamy and satisfying texture that complements the juicy fruit.
– Texture Transformation: As the yogurt freezes, it forms a protective shell around the fruit, keeping it fresh while providing a delightful crunch when bitten into. The key to achieving the perfect texture lies in the freezing duration. For best results, allow the bites to freeze for at least 2-3 hours or until solid.
– Patience is Key: Resist the urge to remove the bites before they are fully frozen. If you take them out too early, the yogurt coating can be too soft and may not hold up well, leading to a less enjoyable eating experience.
Serving Suggestions and Storage
How to Serve Kiwi Strawberry Bliss Bites
When it comes to serving your Kiwi Strawberry Bliss Bites, creativity can elevate the experience. Here are a few ideas on how to present them beautifully:
– Garnish with Fresh Mint: Place a few mint leaves on the serving platter for a pop of color and an aromatic touch. Mint pairs wonderfully with the flavors of kiwi and strawberry, enhancing the overall sensory experience.
– Dessert Cups: Arrange the bites in clear dessert cups, layering them with a sprinkle of granola or chopped nuts for added texture. This not only makes for an eye-catching presentation but also introduces a delightful crunch.
– Themed Parties: For gatherings, consider creating a themed fruit platter alongside other fresh fruits, cheeses, or dips. This can add a colorful and healthy option to your table, making it perfect for summer parties or outdoor barbecues.
Tips for Optimal Enjoyment
For the best enjoyment of your Kiwi Strawberry Bliss Bites, consider the following tips:
– Thawing Recommendations: Before serving, let the bites sit at room temperature for about 5-10 minutes. This allows the yogurt to soften slightly, making them easier to eat while maintaining their refreshing qualities.
– Pair with Dips: For an extra layer of flavor, serve your bliss bites with a side of honey or a yogurt-based dip. This will add a sweet touch that complements the natural flavors of the fruit.
Storing Leftovers Properly
If you find yourself with leftover Kiwi Strawberry Bliss Bites, proper storage is essential to maintain their freshness:
– Best Practices for Freezing: Place any uneaten bliss bites in an airtight container or a resealable freezer bag. Make sure to remove as much air as possible to prevent freezer burn, which can affect the taste and texture of your treats.
– Understanding Shelf Life: When stored properly, your Kiwi Strawberry Bliss Bites can last up to 2-3 months in the freezer. However, for the best flavor and texture, aim to consume them within the first month.
Conclusion
Kiwi Strawberry Bliss Bites are more than just a refreshing snack; they are a vibrant representation of the delightful fusion of health and indulgence. With their simple preparation, nutritional benefits, and versatility, these blissful bites can easily become a staple in your kitchen. Whether enjoyed as a midday treat, a dessert at a gathering, or a healthy snack for kids, this recipe embodies the essence of enjoyable and guilt-free eating.
The combination of flavors and textures—from the tangy kiwi and strawberry to the creamy yogurt—creates a blissful experience that is sure to leave a lasting impression. Embrace the joy of making and sharing these delightful bites, and let them become a cherished addition to your culinary repertoire.
Now that you have the full recipe and tips for preparation, it’s time to gather your ingredients and create your own batch of Kiwi Strawberry Bliss Bites. Your taste buds will thank you for this refreshing treat!