Choco-Banana Bliss Pops: A Delicious and Healthy Treat
If you’re on the hunt for a delectable dessert that beautifully marries the rich, creamy taste of chocolate with the natural sweetness of bananas, look no further than Choco-Banana Bliss Pops. This delightful treat not only satisfies your sweet tooth but also offers a healthier option that can be enjoyed by all ages. The process of creating these blissful pops is simple, making them an ideal choice for quick snacks, party treats, or a fun cooking project with kids.
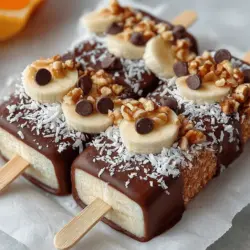
Choco-Banana Bliss Pops stand out for their enticing combination of flavors and textures. The luscious dark chocolate coating envelops ripe bananas, creating a contrast that is both rich and refreshing. As you take a bite, the creamy banana interior complements the crispy chocolate exterior, making each pop a delightful experience for your taste buds. But the appeal of these pops goes beyond taste; they also pack a nutritional punch, with bananas and dark chocolate both offering significant health benefits.
Bananas are a powerhouse of nutrients, providing essential vitamins and minerals like potassium, vitamin C, and vitamin B6. They are also an excellent source of dietary fiber, which can aid in digestion and promote a feeling of fullness. On the other hand, dark chocolate is renowned for its antioxidant properties, which can help combat free radicals and may contribute to heart health when enjoyed in moderation. Together, these ingredients create a guilt-free dessert that can be enjoyed without compromising your health goals.
The Appeal of Choco-Banana Bliss Pops
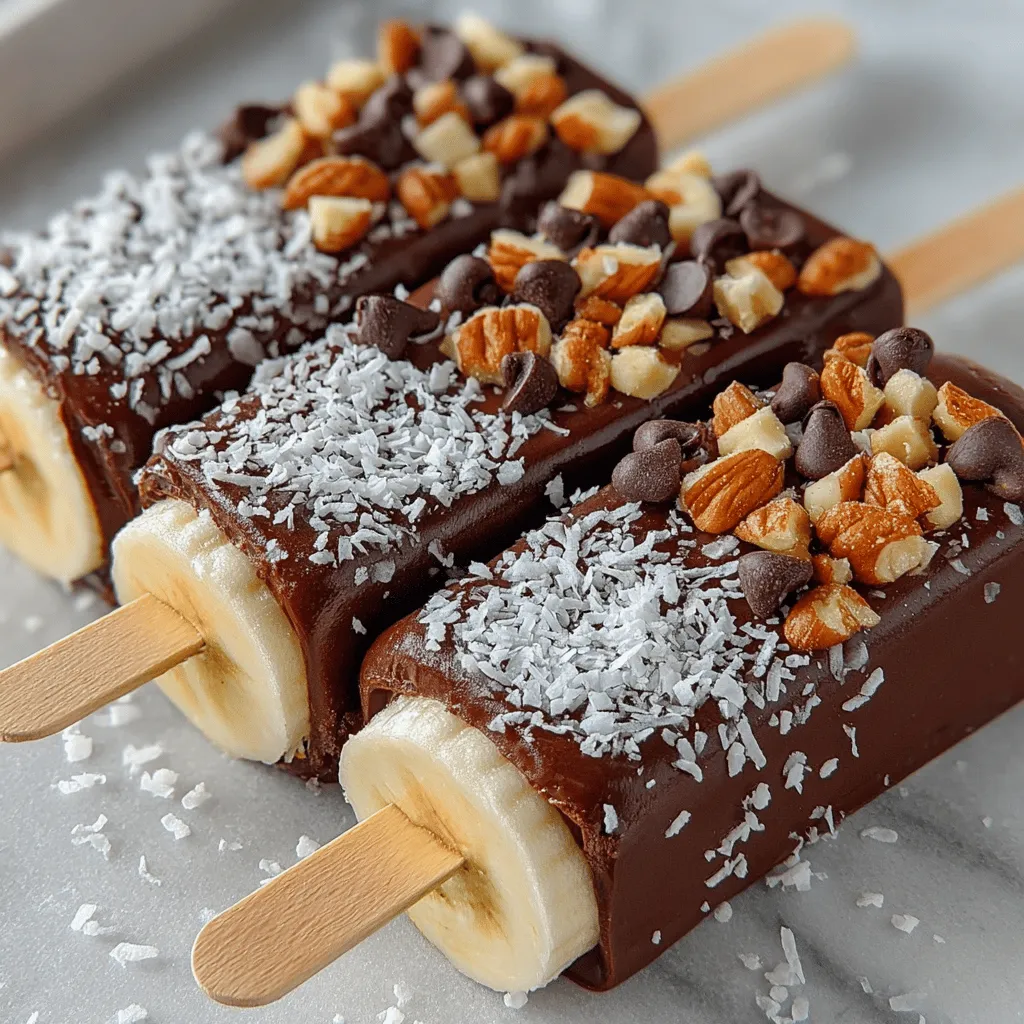
Visually, Choco-Banana Bliss Pops are striking, featuring a glossy chocolate coating that invites you to take a bite. The golden hue of the banana peeking through the dark chocolate creates an appealing contrast that enhances their visual allure. Taste-wise, the pops offer a delightful balance of flavors: the sweetness of the banana complements the bittersweet notes of the dark chocolate, making each bite a harmonious blend of indulgence and nutrition.
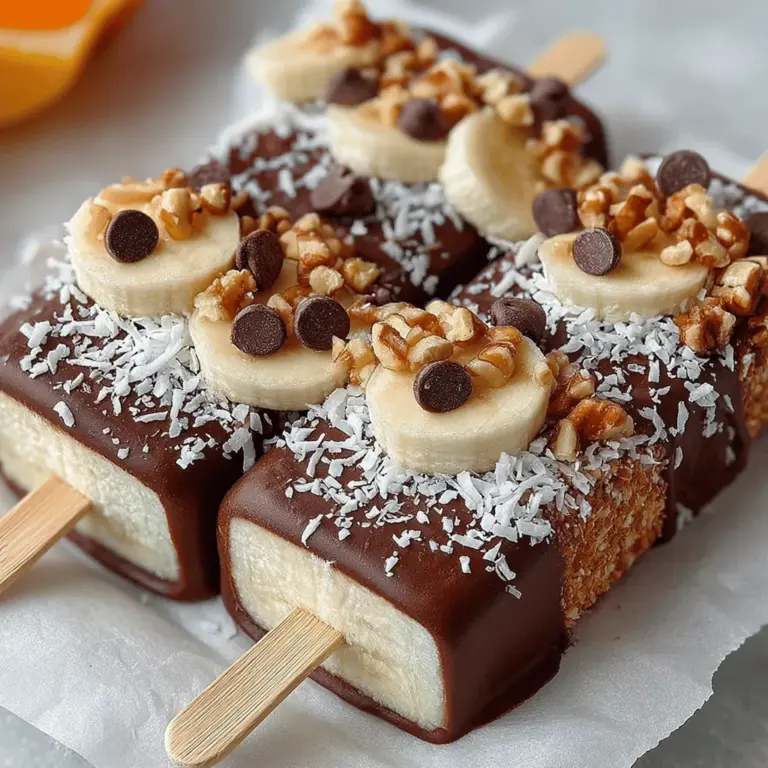
One of the best aspects of Choco-Banana Bliss Pops is their versatility. The basic recipe can be customized to suit your preferences or to cater to various occasions. Want to add a bit of crunch? Consider rolling the pops in chopped nuts or crushed graham crackers. Looking to add a hint of tropical flavor? A sprinkle of shredded coconut can transport your taste buds to a sunny beach. The possibilities are endless, allowing you to get creative and make these pops uniquely yours.
These bliss pops are perfect for a variety of occasions. Whether you’re hosting a birthday party, looking for a fun snack for the kids after school, or wanting a healthy option to satisfy your sweet cravings, Choco-Banana Bliss Pops fit the bill. They are easy to prepare in advance, making them a convenient treat for busy families or entertaining guests.
Ingredients Overview
To make these delightful Choco-Banana Bliss Pops, you will need a few simple ingredients, each contributing to the flavor and health benefits of the final product.
– Ripe Bananas: The star of the show, ripe bananas are essential for achieving the optimal sweetness and creaminess in your pops. They are rich in potassium, which supports heart health and muscle function, and they provide a quick source of energy, making them an ideal snack.
– Dark Chocolate Chips: Choose high-quality dark chocolate chips for coating your pops. Dark chocolate is loaded with antioxidants, which can help reduce inflammation and lower the risk of chronic diseases. It also contains flavonoids, known for their heart-protective benefits.
– Coconut Oil: Used to help melt and thin the chocolate for coating, coconut oil adds a subtle tropical flavor while enhancing the texture. It is a source of medium-chain triglycerides (MCTs), which may provide a quick energy source and support metabolism.
– Shredded Coconut: Not only does shredded coconut add a delightful texture to your pops, but it also brings additional health benefits. It is high in fiber and contains healthy fats that can promote a feeling of fullness, making it a great addition to your dessert.
– Chopped Nuts: If you’re looking to add a bit of crunch, consider incorporating chopped nuts like almonds, walnuts, or pistachios. Nuts are nutrient-dense, providing healthy fats, protein, and a variety of vitamins and minerals that contribute to overall health.
– Mini Chocolate Chips: These are an optional indulgence that can be used as a topping for those who want an extra chocolatey treat. While they do add a little more sweetness, they can enhance the overall appearance and flavor of the pops.
Step-by-Step Instructions
Preparing the Bananas
The first step in making Choco-Banana Bliss Pops is selecting the right bananas. Opt for ripe bananas that are slightly freckled but not overly brown. Ripe bananas will offer the best flavor and texture, providing natural sweetness without the need for added sugars.
Once you’ve chosen your bananas, the next step is to prepare them for freezing. Start by peeling the bananas and cutting them into halves or thirds, depending on your preferred size for the pops. To create a handle for each pop, gently insert a popsicle stick into the cut end of each banana piece. Be careful not to push the stick too far; it should be secure enough to hold the banana without falling apart.
Freezing the Bananas
After preparing the bananas, it’s time to freeze them. Place the banana pieces on a parchment-lined baking sheet, ensuring they are spaced apart to prevent sticking. This step is crucial, as freezing the bananas will enhance their texture and flavor, giving them a creamy consistency that pairs perfectly with the chocolate coating.
Once the bananas are arranged on the baking sheet, place them in the freezer for at least 1-2 hours, or until they are completely frozen. Freezing not only solidifies the bananas but also intensifies their sweetness, making your Choco-Banana Bliss Pops even more enjoyable.
By following these initial steps, you are well on your way to creating a tasty and visually appealing dessert that everyone will love. Stay tuned for the next part of this article, where we will delve into the delicious chocolate coating process and explore how to customize your pops for the ultimate indulgence.
Melting the Chocolate
To create a luscious coating for your Choco-Banana Bliss Pops, the first step involves melting the chocolate. For this recipe, you can use either dark, milk, or white chocolate based on your preference. The key to achieving a smooth and glossy chocolate melt is to use the double boiler method. This involves placing a heatproof bowl over a pot of simmering water, ensuring that the bottom of the bowl does not touch the water.
Tips for Achieving the Perfect Melt and Consistency
1. Choose Quality Chocolate: Opt for high-quality chocolate bars or chips, as they have a higher cocoa butter content and will melt more smoothly.
2. Chop the Chocolate: If using a chocolate bar, chop it into small, uniform pieces to ensure even melting.
3. Stir Constantly: As the chocolate melts, stir it gently but continuously to promote even heat distribution and prevent burning.
4. Avoid Water Contact: Ensure no water drips into the chocolate, as even a small amount can cause the chocolate to seize and become grainy.
The Role of Coconut Oil in Chocolate Coating
Incorporating a tablespoon of coconut oil into your melted chocolate can dramatically improve its consistency. Coconut oil helps the chocolate to coat the bananas more smoothly and allows it to harden with a glossy finish. This not only enhances the visual appeal but also ensures that the chocolate coating maintains its integrity when frozen.
Coating the Bananas
Once your chocolate is melted and smooth, it’s time to coat the bananas. Make sure your banana pieces are frozen solid before dipping; this helps the chocolate to set quickly and creates a delightful texture.
Techniques for Ensuring an Even Coat of Chocolate
1. Use a Fork or Skewers: Insert a fork or wooden skewer into the banana slice to make dipping easier. This allows you to fully submerge the banana piece in the chocolate, ensuring even coverage.
2. Dip and Twist: Dip the banana into the melted chocolate and give it a gentle twist to allow excess chocolate to drip off. This helps to avoid thick clumps of chocolate on the pops.
3. Rotate for Full Coverage: Rotate the banana while in the chocolate to ensure all sides are evenly coated.
How to Manage Excess Chocolate Effectively
If you find yourself with too much chocolate left over after coating, don’t waste it! Here are some ways to use up excess melted chocolate:
– Drizzle it over other snacks, such as popcorn or pretzels.
– Pour it into silicone molds for homemade chocolate treats.
– Use it to coat additional fruits like strawberries or apple slices.
Adding Toppings
The fun doesn’t stop at chocolate! Adding toppings can elevate your Choco-Banana Bliss Pops to a whole new level.
Suggestions for Alternative Toppings Beyond Coconut and Nuts
1. Crushed Cookies: Use crushed graham crackers or Oreos for a delightful crunch.
2. Sprinkles: Colorful sprinkles can add a festive touch that’s especially appealing to kids.
3. Dried Fruit: Chopped dried apricots, cranberries, or raisins can introduce a chewy texture and additional sweetness.
4. Seeds: Chia seeds, sesame seeds, or pumpkin seeds can offer a nutritious crunch.
Tips on Timing for Adding Toppings Before Chocolate Sets
To ensure toppings adhere well, it’s crucial to sprinkle them onto the chocolate coating while it’s still wet. Here’s how to time it right:
– Work Quickly: After dipping the banana in chocolate, work swiftly to add toppings before it begins to set.
– Press Gently: Lightly press the toppings into the chocolate to ensure they stick, but be careful not to disturb the coating.
Final Freeze
Once you have coated your bananas and added toppings, it’s time for the final freeze. This step is essential for achieving the perfect texture and presentation.
Importance of the Final Freeze for Texture and Presentation
The final freeze solidifies the chocolate coating and the banana, making it easier to enjoy without melting too quickly in your hands. For the best results, freeze the pops for at least two hours. This ensures that the pops are fully frozen, giving them a delightful bite.
How to Properly Store the Pops After Freezing
To maintain the quality of your Choco-Banana Bliss Pops after freezing:
– Use Airtight Containers: Store the pops in an airtight container to prevent freezer burn and maintain flavor.
– Layer with Parchment: If stacking the pops, place parchment paper between layers to prevent sticking.
– Label and Date: Don’t forget to label your container with the date so you can keep track of freshness.
Nutritional Information
Understanding the nutritional profile of your Choco-Banana Bliss Pops can help you appreciate their health benefits compared to traditional ice cream treats.
Breakdown of Nutritional Values Per Serving
Each Choco-Banana Bliss Pop (assuming a serving size of one coated banana slice) contains approximately:
– Calories: 110
– Fat: 6g (from chocolate and coconut oil)
– Carbohydrates: 14g
– Fiber: 2g
– Protein: 1g
Comparison of Health Benefits Versus Traditional Ice Cream Treats
Unlike traditional ice cream, which can be high in sugar and saturated fats, Choco-Banana Bliss Pops provide a more balanced treat. They feature:
– Natural Sugars: The sweetness comes from bananas, which offer potassium and fiber.
– Lower Calories: Compared to a standard ice cream bar, these pops are lower in calories and fat, making them a healthier dessert choice.
– Customizable: You can adjust the toppings and coatings to suit dietary preferences, making them suitable for various diets.
Discussion on Portion Control and Serving Suggestions
These pops are not only delicious but also provide an excellent opportunity for portion control. Their small size makes them a guilt-free indulgence. Consider serving them as part of a dessert platter or as a treat after lunch or dinner.
Serving Suggestions
To truly impress your guests and enjoy your Choco-Banana Bliss Pops, here are some creative serving suggestions.
Ideas for Pairing with Other Desserts or Snacks
1. Fruit Salad: Pair your pops with a refreshing fruit salad for a colorful dessert spread.
2. Yogurt: Serve them alongside a bowl of Greek yogurt for a protein-packed snack.
3. Cheese Platter: Include your pops on a cheese board for a unique sweet and savory combination.
Presentation Tips for Serving at Gatherings or Parties
– Use Colorful Sticks: Opt for fun, colorful skewers to make the pops visually appealing.
– Serve on a Platter: Arrange the pops on a decorative platter and garnish with mint leaves for a touch of elegance.
– Keep Them Cool: If serving outdoors, consider a bowl of ice to keep the pops cool and firm.
Creative Serving Ideas: Dessert Platters, Kid-Friendly Snacks, etc.
– Dessert Bar: Create a DIY dessert bar where guests can customize their pops with various toppings.
– Kids’ Parties: These pops can be a hit at children’s parties. Set up a station where kids can dip and decorate their banana pops with their favorite toppings.
Conclusion
Choco-Banana Bliss Pops are not only a delightful treat but also a healthier alternative to traditional frozen desserts. Their combination of creamy bananas, smooth chocolate, and customizable toppings makes them perfect for any occasion. Whether you’re entertaining guests, looking for a fun family activity, or simply craving something sweet, this recipe is sure to impress.
We encourage you to try making these Choco-Banana Bliss Pops at home for your family and friends. Experience the joy of creating simple yet indulgent treats with fresh ingredients that everyone will love. So gather your ingredients, get the kids involved, and enjoy the process of making these delicious pops!