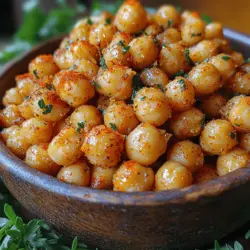
Chickpea Crunchies: A Flavorful Snack Adventure!
Introduction
Chickpeas, also known as garbanzo beans, are not only a staple in Middle Eastern cuisine but have also gained popularity worldwide due to their versatility and numerous health benefits. These small legumes, packed with flavor and nutrition, can be transformed into various dishes, from hearty stews to refreshing salads. However, one standout recipe that has captured the hearts of snack lovers is Chickpea Crunchies—a delightful, crunchy snack that satisfies cravings while offering a host of health advantages. In this article, we will delve into the steps for making these flavorful chickpea snacks, discuss the numerous health benefits of chickpeas, and explore creative variations to elevate your snacking experience.
Understanding Chickpeas and Their Benefits
Before diving into the recipe, it’s essential to understand why chickpeas are not just a trendy ingredient but a nutritional powerhouse. Chickpeas belong to the legume family and are rich in protein, making them an excellent meat alternative for vegetarians and vegans. Their high fiber content promotes digestive health, helps regulate blood sugar levels, and contributes to a feeling of fullness, making them a perfect snack option for those looking to maintain a healthy diet.
Exploring the Nutritional Profile of Chickpeas
Chickpeas are a treasure trove of essential nutrients. A one-cup serving of cooked chickpeas contains approximately:
– 15 grams of protein
– 12 grams of dietary fiber
– 4 grams of fat (primarily healthy unsaturated fats)
– Various vitamins and minerals, including iron, magnesium, folate, and phosphorus
This impressive nutritional profile not only supports overall health but also makes chickpeas an ideal ingredient for those looking to boost their nutrient intake without adding excessive calories.
The Role of Chickpeas in a Balanced Diet
Incorporating chickpeas into a balanced diet can lead to various health benefits. Their high protein content makes them an excellent addition to meals, helping to meet daily protein needs without relying on animal products. The fiber in chickpeas aids digestion and supports gut health, while their low glycemic index helps stabilize blood sugar levels, making them suitable for individuals with diabetes.
Moreover, chickpeas are versatile and can be easily added to a variety of dishes—think hummus, salads, soups, and now, crunchy snacks! The potential for culinary creativity with chickpeas is virtually limitless, allowing you to explore different flavors and textures while reaping the health benefits.
Health Benefits: From Protein to Fiber
The health benefits of chickpeas extend beyond mere nutrition. Regular consumption of chickpeas has been associated with several health advantages:
1. Weight Management: Thanks to their high fiber and protein content, chickpeas can help control hunger and promote satiety, making it easier to maintain a healthy weight.
2. Heart Health: Chickpeas contain heart-healthy nutrients that can help lower cholesterol levels and reduce the risk of cardiovascular diseases.
3. Blood Sugar Control: The fiber in chickpeas can slow down the absorption of sugar into the bloodstream, aiding in blood sugar regulation and reducing the risk of insulin resistance.
4. Digestive Health: The fiber content supports healthy digestion and promotes regular bowel movements, reducing the risk of digestive issues.
5. Bone Health: Chickpeas are rich in minerals like magnesium and phosphorus, which are essential for maintaining strong bones.
With these impressive health benefits, it’s easy to see why chickpeas are a favorite among health-conscious eaters. Now that we’ve covered the nutritional aspects, let’s dive into the delicious part—making Chickpea Crunchies!
Ingredients Breakdown
To create the perfect batch of Chickpea Crunchies, you will need a few key ingredients. This recipe is not only simple but also allows for customization based on your taste preferences. Here’s what you’ll need:
– Chickpeas: The star of the show—canned or cooked chickpeas work well for this recipe. Ensure they are drained and rinsed thoroughly to remove excess sodium and improve texture.
– Olive Oil: A light coating of olive oil helps achieve that perfect crunch and adds flavor. You can substitute it with other oils if desired, but olive oil is a healthier option.
– Seasonings: The flavor of your Chickpea Crunchies largely depends on the seasoning mix. Common options include garlic powder, paprika, cumin, and salt. Feel free to experiment with different spices to create a unique flavor profile!
– Optional Ingredients: For an extra boost of flavor and nutrition, consider adding nutritional yeast for a cheesy, umami taste, or fresh herbs like rosemary and thyme for a fragrant touch.
Step-by-Step Guide to Making Chickpea Crunchies
Now that you have all your ingredients ready, it’s time to start making your Chickpea Crunchies! Follow these simple steps to ensure your snack turns out crispy and delicious.
Preheating the Oven for Optimal Crispiness
Start by preheating your oven to 400°F (200°C). A hot oven is crucial for achieving that perfect crunch. While the oven is heating up, you can prepare your chickpeas.
Preparing the Chickpeas: The Key to Crunchiness
If you are using canned chickpeas, drain and rinse them thoroughly under cold water to remove any excess sodium and starch. After rinsing, spread the chickpeas on a clean kitchen towel or paper towels and gently pat them dry. Removing moisture is key to ensuring that your Chickpea Crunchies turn out crispy instead of soggy.
If you are using dried chickpeas, soak them overnight and cook them until tender before proceeding with the recipe.
Mixing the Seasoning: Balancing Flavors
In a large mixing bowl, combine your chosen seasonings with a drizzle of olive oil. The oil will help the seasonings adhere to the chickpeas while also contributing to their crispiness. Stir well to create a flavorful coating that will enhance every chickpea.
Coating the Chickpeas: Ensuring Even Coverage
Add the prepared chickpeas to the bowl with the seasoning mixture. Toss gently but thoroughly to ensure that each chickpea is evenly coated with the flavorful oil and spices. This step is crucial for achieving a uniform taste and texture in your final snack.
Stay tuned for the next part of the article, where we will guide you through the baking process and explore some creative variations to take your Chickpea Crunchies to the next level!
Spreading and Roasting: Achieving Perfect Texture
Once your chickpeas are coated with the rich blend of spices and seasonings, it’s time to spread them on a baking sheet. This step is crucial for achieving that perfect crunchiness. Here’s how to do it:
1. Prepare the Baking Sheet: Line a large baking sheet with parchment paper. This will prevent the chickpeas from sticking and make cleanup easier.
2. Spread Evenly: Pour the seasoned chickpeas onto the prepared baking sheet. Use a spatula or your hands to spread them out in a single layer. Make sure there is enough space between each chickpea to allow air circulation, which promotes even roasting.
3. Roasting Temperature: Preheat your oven to 400°F (200°C). The high temperature is essential to achieve that delightful crunch.
4. Roast to Perfection: Place the baking sheet in the preheated oven. Roast the chickpeas for about 25-30 minutes, stirring halfway through. This ensures even cooking and prevents burning. Keep a close eye on them towards the end; you want them golden brown and crispy.
5. Cooling Time: Once done, remove the chickpeas from the oven and let them cool on the baking sheet for about 10 minutes. They will continue to harden as they cool, leading to that satisfying crunch.
Cooling and Serving: Enhancing Flavor with Garnish
Proper cooling is essential not just for texture but also for enhancing the overall flavor. Here are some steps to follow:
1. Cool Completely: Allow the chickpeas to cool completely on the baking sheet. This step is crucial as it helps to lock in the crunchiness.
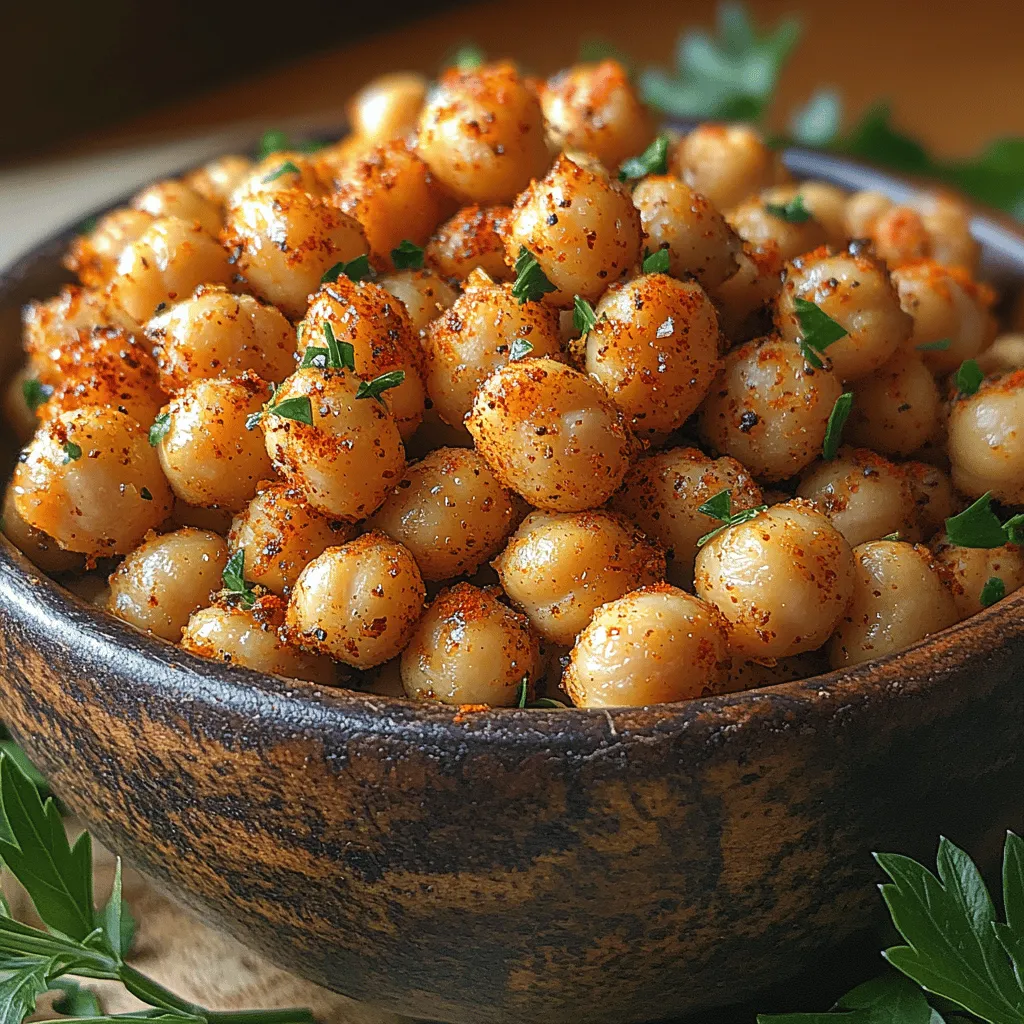
2. Garnishing: Consider garnishing your Chickpea Crunchies to elevate their flavor. A sprinkle of sea salt, a dash of paprika, or a drizzle of high-quality olive oil can enhance the taste significantly. If you’re feeling adventurous, try adding a squeeze of lemon juice just before serving for a zesty finish.
3. Serving Suggestions: Transfer your cooled Chickpea Crunchies to a serving bowl. They can be enjoyed on their own or served alongside your favorite dips or as a topping for salads.
Flavor Variations for Chickpea Crunchies
While the basic recipe is delicious, experimenting with different flavors can take your Chickpea Crunchies to the next level. Here are some enticing variations:
Spicy Variations: Adjusting Heat Levels
If you love heat, don’t shy away from adding spices like cayenne pepper, chili powder, or even sriracha to the chickpeas before roasting. Adjust the quantities according to your heat tolerance:
– Mildly Spicy: Use 1 teaspoon of cayenne pepper.
– Medium Heat: Increase to 1 tablespoon of chili powder or add a few drops of hot sauce.
– Extra Spicy: Incorporate fresh jalapeños or habaneros into the mix.
Herb-Infused Chickpea Crunchies: Using Fresh Herbs
Fresh herbs can transform the flavor profile of your chickpeas. Try adding finely chopped fresh rosemary, thyme, or parsley to the mix. This not only adds flavor but also an aromatic touch that enhances the overall experience.
– Rosemary and Garlic: Combine 1 tablespoon of minced fresh rosemary with garlic powder for a savory twist.
– Herbed Mediterranean: Mix in oregano, thyme, and a sprinkle of feta cheese for a Mediterranean flair.
Cheesy Chickpea Crunchies: Incorporating Different Cheeses
For cheese lovers, adding cheese can create a rich and savory flavor. Grated Parmesan, nutritional yeast, or even cheddar can be mixed in with the spices before roasting.
– Parmesan Crunchies: Toss the chickpeas with ¼ cup of grated Parmesan cheese for a cheesy flavor.
– Nutritional Yeast: This is a great option for a vegan cheese flavor that complements the chickpeas beautifully.
Sweet Alternatives: Transforming Crunchies into a Dessert Snack
Chickpea Crunchies can also be sweetened for a delightful dessert snack. Here’s how to turn your savory snack into a sweet treat:
1. Brown Sugar and Cinnamon: Coat the chickpeas with a mix of brown sugar, cinnamon, and a pinch of salt before roasting.
2. Chocolate Drizzle: After roasting, drizzle your favorite melted dark chocolate over the cooled chickpeas for a decadent finish.
Serving Suggestions and Pairings
Chickpea Crunchies are versatile and can be served in various ways. Here are some creative ideas:
Creative Ways to Serve Chickpea Crunchies
– Snack Bowl: Serve them in a decorative bowl as a crunchy snack for movie nights or gatherings.
– Salad Topping: Sprinkle them over salads for added texture and flavor. They pair particularly well with green salads, quinoa bowls, or grain-based salads.
– Trail Mix: Combine them with nuts and dried fruits for a nutritious trail mix perfect for on-the-go snacking.
Pairing with Dips: Hummus, Salsa, and More
Chickpea Crunchies complement a variety of dips, enhancing their taste and making for a delightful snacking experience:
– Hummus: The creaminess of hummus balances the crunchiness of the chickpeas perfectly.
– Salsa: A fresh salsa can add a zesty kick. Try a pineapple or mango salsa for a sweet contrast.
– Guacamole: The rich, creamy texture of guacamole pairs wonderfully with the crunch of the chickpeas.
Incorporating into Meals: Salads, Bowls, and Snacks
Beyond snacking, Chickpea Crunchies can be incorporated into meals:
– Grain Bowls: Add them to rice or quinoa bowls for a satisfying crunch.
– Tacos: Use them as a filling for tacos for added protein and texture.
– Soups: Sprinkle over soups as a crunchy garnish, providing a delightful contrast to the soft textures.
Storing Chickpea Crunchies
To keep your Chickpea Crunchies fresh and crispy, follow these best practices:
Best Practices for Keeping Them Fresh
1. Airtight Container: Store the cooled chickpeas in an airtight container at room temperature. This will help maintain their crunchiness. A glass jar or a resealable plastic bag works well.
2. Avoid Moisture: Ensure that the container is completely dry before adding the chickpeas to prevent them from becoming soggy.
3. Shelf Life: Properly stored, Chickpea Crunchies can last for up to a week. However, they are best enjoyed fresh for maximum flavor and texture.
How to Reheat for Maximum Crispiness
If your Chickpea Crunchies lose their crunch over time, you can easily revive them:
1. Oven Reheat: Preheat your oven to 350°F (175°C). Spread the chickpeas evenly on a baking sheet and warm them for about 10 minutes. This will help restore their crunchiness.
2. Air Fryer Method: For a quick fix, toss the chickpeas in an air fryer for 5 minutes at 350°F (175°C) for a quick re-crisp.
Conclusion
Chickpea Crunchies are more than just a snack; they are a testament to how simple ingredients can come together to create something truly special. With their satisfying crunch and bold flavors, these snacks are perfect for any occasion—from a midday pick-me-up to a party appetizer. By understanding the preparation process and exploring various flavor combinations, you can enjoy this delightful treat in multiple ways. So, whether you’re a health enthusiast or simply looking for a tasty snack, Chickpea Crunchies offer a flavorful adventure that everyone can appreciate. Dive into this culinary journey and discover how versatile and delicious these crunchy gems can be!