Introduction
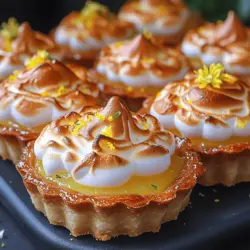
Lemon meringue tarts are a beloved classic dessert that combines the tartness of lemon curd with the sweetness of fluffy meringue, all nestled in a buttery crust. Their popularity can be attributed to their refreshing flavor profile and elegant presentation, making them a perfect choice for any occasion, from casual gatherings to formal celebrations. The zesty mini lemon meringue tarts take this traditional dessert to a new level, providing a delightful, bite-sized treat that is as pleasing to the eye as it is to the palate.
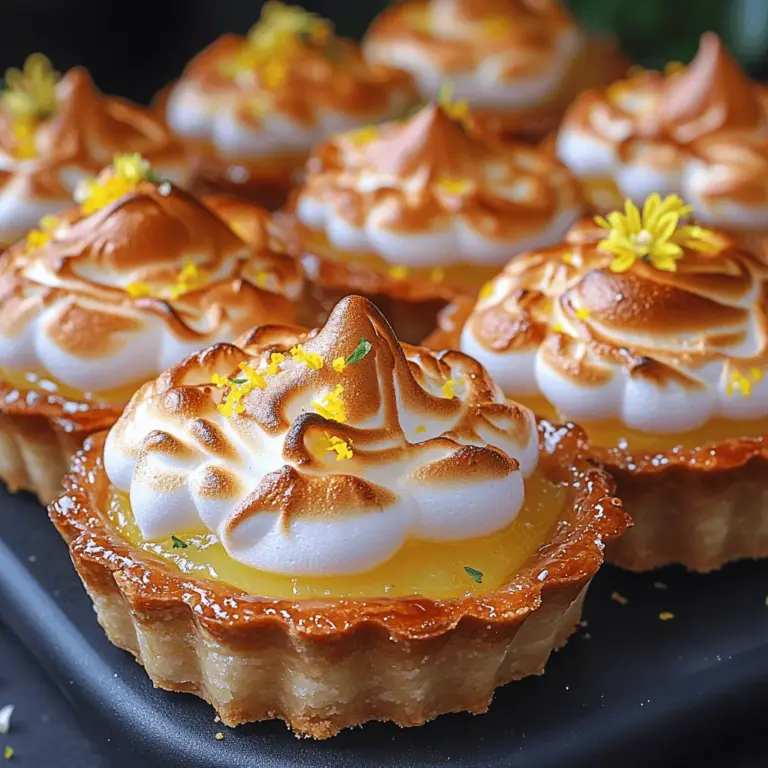
These mini tarts are not only visually appealing, but they also pack an explosion of flavor in each bite. With a buttery, flaky crust that cradles a tangy lemon curd filling topped with a cloud of billowy meringue, they are sure to impress your guests and leave them craving more. Homemade desserts have a unique charm that store-bought options simply can’t replicate, and these mini lemon meringue tarts are no exception. They showcase your culinary skills while allowing you to control the ingredients, ensuring a fresh and delicious result.
The Allure of Lemon Desserts
Lemon is a favored ingredient in desserts for a multitude of reasons. Its bright, tangy flavor provides a refreshing contrast to the sweetness typically found in confections. The natural acidity of lemons enhances the overall taste experience, creating a harmonious balance that pleases the palate. Moreover, lemons are rich in vitamin C and antioxidants, offering health benefits that make indulging in lemon desserts feel a bit more guilt-free.
The versatility of citrus fruits, especially lemons, plays a critical role in dessert-making. They can cut through the richness of creamy fillings, elevate the taste of baked goods, and add a lively burst of flavor to fruit-based desserts. The addition of lemon zest further amplifies this effect, providing aromatic oils that deepen the flavor without adding extra liquid. This unique quality of lemons makes them a staple in many dessert recipes, allowing home bakers to create treats that are both delicious and refreshing.
Ingredient Breakdown
To create the perfect zesty mini lemon meringue tarts, it’s essential to understand the role of each ingredient involved. Here’s a closer look at the components that come together to make this delightful dessert.
Crust
The crust serves as the foundation of your mini tarts, and its texture is crucial for a successful dessert. Using chilled butter is essential, as it helps to create a flaky and tender crust. The cold temperature prevents the butter from melting too quickly during the mixing process, allowing it to create pockets of steam that result in a light and airy texture. The ingredients for the crust typically include all-purpose flour, sugar, salt, and butter, with the addition of ice water to bring the dough together.
For those with dietary restrictions, gluten-free options are readily available. You can substitute all-purpose flour with a gluten-free flour blend that contains xanthan gum to mimic the elasticity and structure of traditional dough. This ensures that everyone can enjoy the zesty mini lemon meringue tarts, regardless of their dietary needs.
Lemon Curd
The star of the show in these mini tarts is undoubtedly the lemon curd. The key to achieving a vibrant and flavorful lemon curd lies in the use of fresh lemon juice and zest. Fresh lemons not only provide the necessary acidity but also release essential oils from the zest, enhancing the flavor profile significantly. The curd is typically made from a combination of eggs, sugar, butter, and lemon juice, resulting in a creamy, tangy filling that is both rich and refreshing.
It’s important to note that when making lemon curd, the mixture should be cooked gently to prevent curdling. Using a double boiler or a heavy-bottomed saucepan can help distribute heat evenly, allowing for a smooth and silky texture. If you’re short on time, pre-made lemon curd is an option, but making it from scratch is highly recommended for the best flavor.
Meringue
The final touch on these mini tarts is the meringue topping, which adds a sweet and airy contrast to the tart lemon filling. The meringue is made from egg whites and sugar, whipped together until light and fluffy. The addition of cream of tartar is crucial in this process, as it stabilizes the egg whites and helps achieve the desired volume and texture. Cream of tartar also prevents the meringue from collapsing, ensuring that your tarts maintain their lovely presentation.
For those looking for an alternative to traditional meringue, aquafaba—the liquid from canned chickpeas—can be used as a substitute. It whips up just like egg whites, making it an excellent option for vegan or egg-free diets. This allows more individuals to enjoy these delightful mini tarts while accommodating various dietary preferences.
Step-by-Step Guide to Making Zesty Mini Lemon Meringue Tarts
Creating zesty mini lemon meringue tarts involves several steps. Below is a comprehensive guide to preparing the crust, lemon curd filling, and meringue topping.
Preparing the Crust
1. Gather Your Ingredients: Start by measuring out all the ingredients needed for the crust: 1 ½ cups all-purpose flour, 1/3 cup granulated sugar, 1/4 teaspoon salt, and 1/2 cup cold unsalted butter, cut into small cubes. You will also need ice water.
2. Mix Dry Ingredients: In a large mixing bowl, whisk together the flour, sugar, and salt until evenly combined.
3. Cut in the Butter: Add the chilled butter cubes to the flour mixture. Using a pastry cutter or your fingertips, cut the butter into the flour until the mixture resembles coarse crumbs with pea-sized pieces of butter remaining.
4. Add Ice Water: Gradually add ice water, one tablespoon at a time, mixing gently until the dough begins to come together. Be careful not to overmix; you want a crumbly texture that holds together when pressed.
5. Chill the Dough: Form the dough into a disk, wrap it in plastic wrap, and refrigerate for at least 30 minutes. This resting period allows the gluten to relax, making it easier to roll out later.
Rolling and Cutting the Dough
6. Preheat the Oven: While the dough chills, preheat your oven to 375°F (190°C).
7. Roll Out the Dough: On a lightly floured surface, roll out the chilled dough to about 1/8-inch thickness. Use a rolling pin and apply even pressure to create a uniform thickness throughout.
8. Cut the Dough: Using a round cookie cutter or a glass, cut out circles of dough that are slightly larger than the diameter of your mini tart pans. Press the circles into the pans, ensuring that they fit snugly against the bottom and sides.
9. Trim Excess Dough: Use a knife to trim any excess dough hanging over the edges of the tart pans. This will create a neat finish for your mini tarts.
10. Blind Bake the Crusts: To prevent the crusts from puffing up during baking, line each tart shell with parchment paper and fill them with pie weights or dried beans. Bake in the preheated oven for 12-15 minutes or until the edges are lightly golden. Remove the weights and parchment paper, then bake for an additional 5 minutes to ensure the bottoms are fully cooked. Allow the crusts to cool completely on a wire rack.
Making the Lemon Curd Filling
11. Combine Ingredients: In a medium saucepan, whisk together 1/2 cup granulated sugar, 1/4 cup fresh lemon juice, 1 tablespoon lemon zest, and 3 large eggs.
12. Cook the Mixture: Place the saucepan over medium heat and cook the mixture, stirring constantly, until it thickens and coats the back of a spoon. This should take about 8-10 minutes. Be careful not to let it come to a boil, as this can cause the eggs to curdle.
13. Add Butter: Once thickened, remove the saucepan from the heat and stir in 1/4 cup unsalted butter until melted and fully incorporated.
14. Strain the Curd: For an ultra-smooth texture, strain the lemon curd through a fine-mesh sieve into a bowl to remove any lumps or bits of cooked egg.
15. Cool the Curd: Allow the lemon curd to cool slightly before pouring it into the prepared tart shells. Fill each crust to the top with the curd, smoothing the surface with a spatula. Refrigerate the tarts for at least 1 hour to set the curd.
This initial part of the recipe sets the stage for creating your zesty mini lemon meringue tarts, focusing on the importance of each ingredient and the careful crafting of the crust and filling. Stay tuned for the next section, where we will delve into the process of preparing the meringue topping and finishing these delightful desserts.
Importance of Constant Stirring and Cooking Techniques to Prevent Curdling
When making the lemon curd for your mini lemon meringue tarts, constant stirring is crucial. This process ensures that the eggs in your mixture do not curdle, which can happen if they are exposed to direct heat for too long. Stirring keeps the mixture moving and evenly distributes the heat, allowing the curd to thicken without cooking the eggs too quickly. Use a heat-resistant spatula or wooden spoon to stir gently yet continuously while cooking over medium heat. This technique not only prevents curdling but also contributes to a smooth, creamy consistency that is essential for the curd.
How to Identify When the Curd is Ready for Cooling
Knowing when your lemon curd is ready is key to achieving that perfect texture. The curd should be thick enough to coat the back of a spoon; when you run your finger through it, the line should hold its shape. This usually occurs when the mixture reaches a temperature of about 170°F (77°C). If you don’t have a thermometer, look for a consistency that is slightly thicker than heavy cream. Once you achieve this, remove the mixture from the heat and strain it through a fine mesh sieve to remove any cooked egg bits, ensuring a silky smooth curd. Allow it to cool slightly before adding it to your tart shells.
Instructions for Making the Perfect Meringue
Creating a flawless meringue is an art that requires attention to detail. Start by ensuring that your mixing bowl and beaters are completely clean and dry. Any residual grease can hinder the meringue from whipping up properly. Begin by separating your egg whites from the yolks, being careful not to introduce any yolk into the whites.
Beat the egg whites on medium speed until they become frothy, then gradually add granulated sugar. Continue beating until the mixture reaches the soft peak stage, where the peaks gently fold over when you lift the beaters. If you want a firmer meringue, continue beating until stiff peaks form, meaning the peaks stand straight up when the beaters are lifted. This stage is crucial for holding its shape when piped or spread over your tarts.
Explanation of Soft vs. Stiff Peaks and Their Significance in Meringue Preparation
Understanding the difference between soft and stiff peaks is essential in meringue preparation. Soft peaks are achieved when the meringue holds its shape but gently bends over at the tips. This consistency is great for recipes that require a lighter meringue, such as for folding into batters. Stiff peaks, on the other hand, are when the meringue holds its shape firmly and stands upright without drooping. Stiff peaks are ideal for topping your lemon tarts, as they provide stability and structure during baking, resulting in a beautifully defined meringue layer.
The Importance of Clean Equipment and the Role of Sugar in Achieving Glossy Meringue
Clean equipment is paramount when making meringue. Any traces of fat or oil can prevent the egg whites from whipping properly, resulting in a subpar meringue. Use glass or stainless-steel bowls, as plastic bowls can harbor grease.
Sugar plays a critical role in achieving a glossy meringue. It not only sweetens the mixture but also stabilizes the egg whites, contributing to a smooth texture. Fine granulated sugar dissolves more easily, making it preferable for meringue. Gradually adding sugar while whipping the egg whites ensures it is fully incorporated, which enhances the meringue’s stability and shine.
Assembling and Baking the Tarts
Once your lemon curd and meringue are ready, it’s time to assemble your mini tarts. Start by filling each pre-baked tart shell with the lemon curd, using a spoon or piping bag for a neat presentation. Fill each shell generously, but leave a little space for the meringue topping.
Next, use a piping bag fitted with your desired tip to pipe the meringue over the filled tarts. Alternatively, you can use a spatula to spread the meringue, creating peaks and swirls for a more rustic look.
Bake your assembled tarts in a preheated oven at 350°F (175°C) for about 8-10 minutes, or until the meringue is lightly golden. Keep an eye on them to prevent burning, as the meringue can brown quickly.
Techniques for Piping or Spreading Meringue for an Aesthetic Finish
Piping meringue can elevate the visual appeal of your lemon meringue tarts. For a decorative finish, consider using a star tip to create a rosette pattern on top. Start from the outer edge of the tart and work your way in, overlapping slightly with each swirl to achieve a full, fluffy appearance.
If you prefer a simpler approach, you can use a spatula to spread the meringue smoothly over the curd, then create peaks by dragging the spatula lightly across the surface. The goal is to have a beautiful texture that will catch the heat during baking, resulting in a lovely golden hue.
Safety Tips for Broiling and Achieving the Perfect Golden Color
When broiling the tarts to achieve that perfect golden color, safety should be your priority. Place the tarts on a baking sheet to catch any drips and ensure even heating. Position the rack in the upper third of your oven, about 6 inches from the broiler.
Keep a close watch on the tarts while broiling, as they can go from perfectly golden to burnt very quickly. Broil for about 1-2 minutes, rotating the tarts as needed to achieve even browning. Once they are golden, remove them immediately from the oven to prevent overcooking.
Creative Presentation Ideas
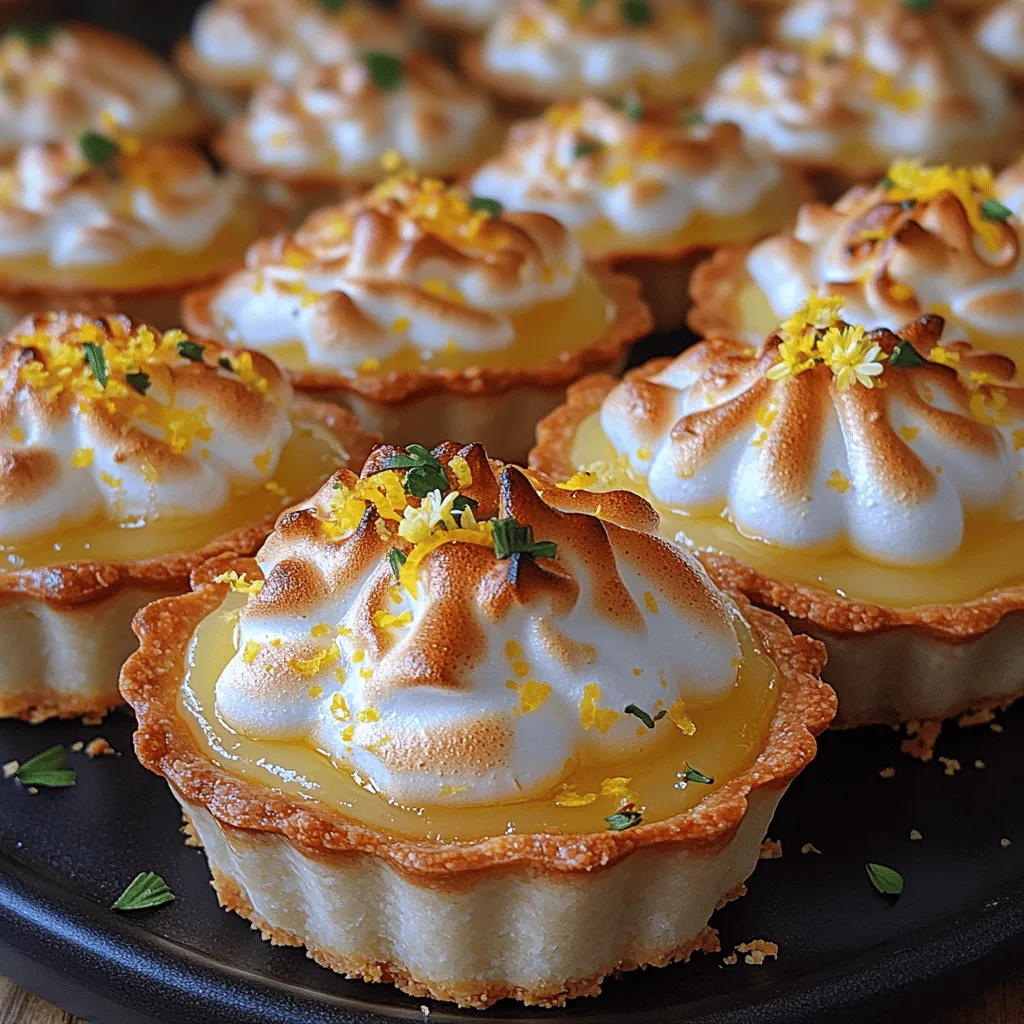
Presentation can elevate your mini lemon meringue tarts from simple to stunning. Garnish with finely grated lemon zest for added color and flavor, or sprinkle with edible flowers for a beautiful touch. Fresh mint leaves can also be a delightful addition, providing a pop of green that complements the vibrant yellow of the lemon curd.
Consider serving these tarts on a decorative platter or individual dessert plates for special occasions. For a memorable presentation, arrange them alongside a pitcher of freshly brewed iced tea or lemonade, enhancing the overall theme of your gathering.
Ideas for Serving Occasions
Mini lemon meringue tarts are versatile and perfect for various occasions. They make an excellent dessert for family gatherings, bringing a refreshing citrus flavor that resonates well with summer barbecues or outdoor picnics.
For formal events, such as birthday parties or holiday celebrations, these tarts add an elegant touch to your dessert table. Their individual portion sizes make them easy for guests to enjoy without needing to cut slices, making them an ideal choice for cocktail parties or buffets.
How to Present the Tarts for an Instagram-Worthy Dessert Display
To create an Instagram-worthy dessert display, consider the backdrop and props for your tarts. A rustic wooden board or a marble surface can add texture and style. Arrange the tarts in a circular pattern or in rows, and use complementary colors in your garnishes.
Incorporate natural light for the best photographs, capturing the shine of the meringue and the vibrant color of the lemon curd. A few whole lemons or sprigs of mint placed around the tarts can enhance the aesthetic and provide context.
Storage and Serving Suggestions
To maintain the freshness of your mini lemon meringue tarts, store them in an airtight container in the refrigerator. They are best enjoyed within 1-2 days, as the meringue can start to weep over time. If you want to prepare them in advance, consider making the lemon curd and tart shells ahead of time, then assemble the tarts just before serving to ensure the meringue stays fluffy and does not lose its texture.
When serving, you can offer the tarts chilled or at room temperature. Pair them with beverages like sparkling water, sweet iced tea, or a glass of chilled Prosecco to complement the tartness of the lemon.
Conclusion
Making mini lemon meringue tarts is a delightful culinary journey that results in a classic dessert bursting with flavor. The joy of creating these tarts lies not only in the process but also in sharing them with loved ones. As you explore this recipe, feel free to experiment with variations, such as adding other citrus flavors or using different types of meringue.
Whether you’re preparing them for a special occasion or simply to enjoy at home, these mini tarts are sure to impress. The satisfaction of crafting a homemade dessert that balances zesty lemon curd with fluffy meringue is a reward in itself. So gather your ingredients, invite your friends or family, and embark on this delicious adventure today!