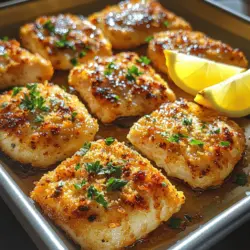
In the realm of comfort food, few dishes can compete with the satisfying crunch and savory taste of chicken cutlets. These Crunchy Golden Oven-Baked Chicken Cutlets not only delight the taste buds but also offer a healthier alternative to traditional frying methods. With a crispy Panko breadcrumb coating and a symphony of spices, these cutlets are sure to become a household favorite. This comprehensive guide will walk you through the entire process, ensuring you achieve perfect results every time.
Understanding the Appeal of Oven-Baked Chicken Cutlets
When it comes to preparing chicken cutlets, the method of cooking can significantly impact both health and flavor. Baking offers numerous advantages over frying, making it an appealing choice for health-conscious individuals and families. One of the primary health benefits of baking chicken cutlets is the reduction in unhealthy fats. Traditional frying methods often require copious amounts of oil, which can lead to excess calories and unhealthy trans fats. In contrast, oven-baking allows you to achieve that coveted crunch with much less oil, resulting in a lighter dish that doesn’t compromise on flavor.
Moreover, the choice of ingredients plays a crucial role in both the flavor and texture of your chicken cutlets. High-quality chicken breasts can transform a simple recipe into a gourmet experience. Fresh, organic chicken not only tastes better but also tends to be more nutritious. Coupled with the right breadcrumbs, such as Panko, which is lighter and crispier than regular breadcrumbs, your chicken cutlets can achieve that perfect golden crust that everyone loves.
Versatility is another significant factor in the appeal of chicken cutlets. They can be served as a main dish, sliced for salads, or even used in sandwiches. The flavor profile can be easily adjusted by varying the spices and herbs, making them suitable for any cuisine or occasion. Whether you’re serving them alongside a fresh salad, creamy mashed potatoes, or your favorite dipping sauce, these oven-baked chicken cutlets can adapt to fit any meal.
Gathering Ingredients for Crunchy Golden Oven-Baked Chicken Cutlets
Before you dive into the culinary adventure of creating Crunchy Golden Oven-Baked Chicken Cutlets, it’s essential to gather all the necessary ingredients to ensure a smooth cooking process. Below is an overview of the essential components that will bring your dish to life.
Overview of Essential Ingredients
1. Chicken Breasts: The star of the show, chicken breasts are lean, protein-rich, and perfect for cutlets. Aim for boneless, skinless chicken breasts for the best results.
2. Panko Breadcrumbs: These Japanese-style breadcrumbs are larger and flakier than traditional breadcrumbs, providing a superior crunch that enhances the overall texture of the cutlets.
3. Eggs: Eggs serve as a binding agent, helping the breadcrumbs adhere to the chicken, thereby ensuring that every bite is flavorful and crispy.
4. Flour: All-purpose flour acts as a base in the breading process, helping to create a barrier that locks in moisture while allowing the egg and breadcrumbs to cling effectively.
5. Spices and Seasonings: A blend of spices such as garlic powder, onion powder, paprika, salt, and pepper can elevate the flavor profile of your chicken cutlets, making them irresistibly delicious.
6. Cooking Spray or Olive Oil: A light coating of cooking spray or a drizzle of olive oil is vital for achieving that golden, crispy exterior without the need for deep frying.
The Importance of Quality Chicken Breasts
When selecting chicken breasts for your cutlets, quality is key. Look for fresh, organic options that are free from hormones and antibiotics. Opting for free-range chicken can also enhance the flavor and texture of your dish. Fresh chicken breasts tend to be juicier and more flavorful than their frozen counterparts, making them a worthy investment for this recipe.
Choosing the Right Breadcrumbs: Panko vs. Regular
The choice of breadcrumbs can significantly impact the final outcome of your chicken cutlets. While traditional breadcrumbs can work in a pinch, Panko breadcrumbs are highly recommended for their unique texture. Panko is made from crustless white bread that is coarsely ground, resulting in a lighter, airier consistency that crisps up beautifully in the oven. This means that your cutlets will not only taste great but will also have a satisfying crunch that adds to the overall eating experience.
Spices That Elevate the Flavor Profile
The beauty of chicken cutlets lies in their versatility, and the right combination of spices can take your dish to a whole new level. Consider incorporating garlic powder, onion powder, and paprika for a well-rounded flavor. If you’re feeling adventurous, experiment with dried herbs such as oregano or thyme, or add a pinch of cayenne pepper for a spicy kick. The key is to season the chicken adequately, ensuring that each bite is bursting with flavor.
The Role of Cooking Spray or Olive Oil in Crispiness
To achieve that beautiful golden-brown crust without frying, a light coating of cooking spray or a drizzle of olive oil is essential. This not only helps the breadcrumbs crisp up in the oven but also adds a touch of richness to the cutlets. If you’re using olive oil, opt for a high-quality extra virgin variety to enhance the flavor further. The oil will also help to lock in moisture, ensuring that your chicken remains juicy and tender.
Prepping the Chicken for Optimal Results
Once you’ve assembled all your ingredients, it’s time to prepare the chicken for cooking. Proper preparation is crucial for achieving evenly cooked, tender cutlets.
Importance of Drying Chicken Breasts
Before you begin the breading process, it’s vital to ensure that your chicken breasts are dry. Patting them dry with paper towels will help the flour and breadcrumbs adhere more effectively. Excess moisture can lead to soggy cutlets, which is the opposite of the desired crispy texture.
Techniques for Even Cooking: Butterflying and Pounding
For optimal cooking results, consider butterflying and pounding your chicken breasts to an even thickness. Butterflying involves slicing the chicken breast horizontally to create two thinner pieces. This not only reduces cooking time but also ensures that the cutlets cook evenly. After butterflying, use a meat mallet to pound the chicken to about half an inch in thickness. This technique tenderizes the meat and helps achieve the perfect texture.
How Thickness Affects Cooking Time and Texture
The thickness of your chicken cutlets directly impacts the cooking time and overall texture of the final dish. Thicker cutlets may require longer baking times, which can lead to dry meat if not monitored closely. Aim for a uniform thickness of approximately half an inch for consistent cooking. Using a meat thermometer to check for doneness is a reliable method; the internal temperature should reach 165°F for perfectly cooked chicken.
Setting Up Your Breading Station
With your chicken prepped and ingredients gathered, the next step is to set up a breading station. Having an organized workspace will streamline the process and make the preparation more efficient.
Step-by-Step Guide to Creating a Breading Station
1. Prepare Three Shallow Dishes: Arrange three shallow dishes in a row. In the first dish, add flour seasoned with salt and pepper. In the second dish, whisk together eggs until smooth. In the third dish, place the Panko breadcrumbs mixed with your chosen spices.
2. Dredging Techniques: Start by taking a piece of chicken and dipping it into the flour, ensuring it’s evenly coated. This initial layer will help the egg adhere better. Shake off any excess flour before moving on to the egg wash.
3. Egg Wash Coating: Submerge the floured chicken in the egg wash, allowing any excess to drip off. This step is crucial for helping the breadcrumbs stick to the chicken during baking.
4. Final Breadcrumb Coating: Finally, press the chicken into the Panko breadcrumbs, ensuring that each piece is thoroughly coated for maximum crunch. Gently press down on the breadcrumbs to help them adhere.
5. Repeat for All Cutlets: Continue this process until all chicken pieces are breaded, placing them on a lined baking sheet ready for the oven.
This structured approach to breading will not only save you time but will also ensure that each chicken cutlet is equally crispy and delicious. By following these steps, you can enjoy the mouthwatering crunch and flavor of Crunchy Golden Oven-Baked Chicken Cutlets, a dish that promises to impress family and friends alike.
Stay tuned for the next part of this guide, where we will delve into baking techniques and serving suggestions that will elevate your chicken cutlet experience even further.
Tips for Ensuring Even Coating
Achieving a uniform coating on your chicken cutlets is crucial for both texture and flavor. A well-coated cutlet ensures that each bite is deliciously crispy and full of flavor. Here are some key tips to ensure an even coating:
Breading the Chicken: A Detailed Process
Visualizing Each Step: Flour, Egg, and Breadcrumbs
The breading process consists of three essential components: flour, eggs, and breadcrumbs. Start by setting up your breading station:
1. Flour: Place all-purpose flour in a shallow dish. This will help create a dry base that adheres well to the chicken.
2. Egg Mixture: In another shallow bowl, whisk together eggs with a splash of water or milk. This mixture acts as the glue that holds the breadcrumbs onto the chicken.
3. Breadcrumbs: Finally, in a third dish, place your breadcrumbs. You can use plain, panko, or seasoned breadcrumbs, depending on your preference.
To bread the chicken, follow these steps:
– Dip each chicken cutlet first into the flour, ensuring it’s fully coated. Shake off any excess flour.
– Next, dip the floured cutlet into the egg mixture, allowing any excess to drip off.
– Finally, coat the cutlet in the breadcrumbs, pressing gently to ensure the crumbs adhere well.
Common Mistakes to Avoid During Breading
Several common mistakes can lead to uneven coating or soggy cutlets. Here are a few to watch out for:
– Skipping the Flour Step: Always flour the chicken before dipping it in the egg. This step helps the egg stick better to the meat.
– Not Pressing the Breadcrumbs: When applying breadcrumbs, take a moment to press them onto the chicken. This ensures a thicker, crunchier coating.
– Overcrowding the Breading Station: Breading multiple pieces at once can lead to a mess. Work in batches to maintain cleanliness and ensure thorough coating.
Enhancing Flavor with Seasoned Breadcrumbs
For a flavor boost, consider using seasoned breadcrumbs. You can easily make your own by adding herbs and spices to plain breadcrumbs. Some excellent additions include garlic powder, onion powder, dried oregano, or Parmesan cheese. This extra step enhances the overall taste of your chicken cutlets, making them even more delicious.
Arranging and Baking the Chicken Cutlets
Once you’ve properly breaded your chicken cutlets, it’s time to prepare them for baking. Correct arrangement and baking techniques can greatly influence the final product.
Optimal Baking Sheet Preparation for Easy Cleanup
Start by preheating your oven to 400°F (200°C). While the oven is warming up, prepare your baking sheet. Line it with parchment paper or aluminum foil for easy cleanup. This prevents the cutlets from sticking and ensures they come off the pan easily after baking.
How to Arrange Cutlets for Even Cooking
When placing your cutlets on the baking sheet, make sure to leave enough space between each piece. This allows hot air to circulate around the cutlets, ensuring even cooking and crispiness. If the cutlets are too close together, they may steam instead of bake, leading to soggy results.
Techniques for Achieving Maximum Crispiness
To achieve that coveted golden crunch, consider the following techniques:
– Use Cooking Spray or Olive Oil: Lightly spritz the top of the breaded cutlets with cooking spray or brush them with olive oil. This helps promote browning and crispiness.
– Flip Halfway Through: For an even bake, flip the cutlets halfway through the cooking time. This allows both sides to crisp up nicely.
Understanding Baking Times: The Importance of Temperature
Baking times can vary based on the thickness of your cutlets. Generally, chicken cutlets will take about 20-25 minutes to bake at 400°F. To ensure they are cooked through, use a meat thermometer to check for an internal temperature of 165°F (74°C). This ensures your chicken is safe to eat while retaining its juiciness.
The Science of Baking Chicken Cutlets
Understanding the science behind baking can elevate your cooking skills and improve your results.
How Heat Affects Texture and Flavor Development
As chicken cutlets bake, the heat causes proteins to denature and moisture to evaporate. This process not only cooks the chicken but also creates a delicious crust on the outside. The Maillard reaction, which occurs at higher temperatures, contributes to the golden-brown color and enhances flavor.
The Role of Carryover Cooking After Baking
Once you remove the chicken cutlets from the oven, they will continue to cook slightly due to carryover cooking. This is when residual heat continues to cook the meat for a few minutes after it has been taken out of the oven. Allow your cutlets to rest for about five minutes before serving to let the juices redistribute.
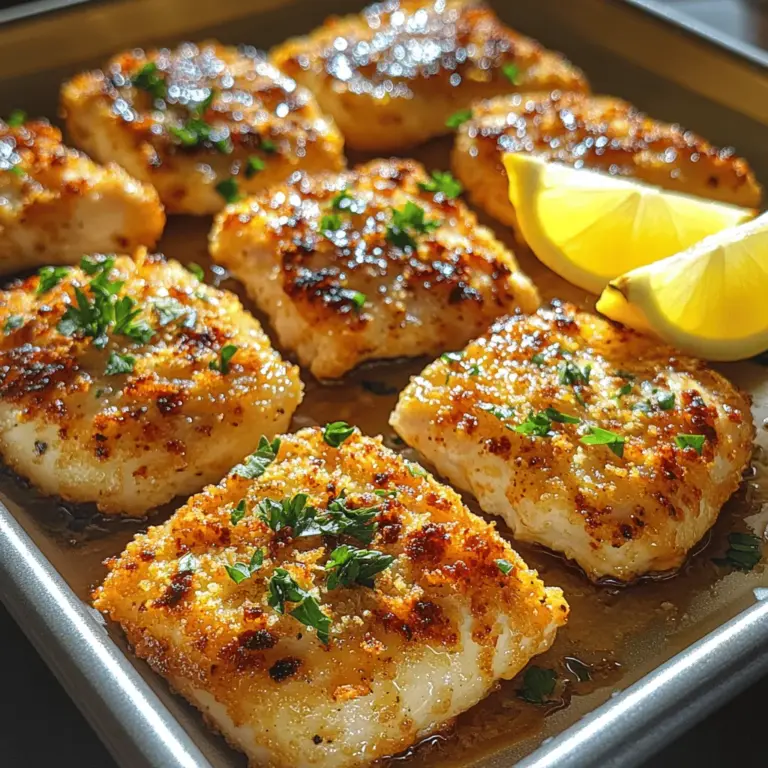
Recognizing the Signs of Perfectly Cooked Chicken
Perfectly cooked chicken should be golden brown on the outside, with an internal temperature of 165°F. The juices should run clear when pierced, and the meat should be firm to the touch but not dry. Knowing these signs will help you achieve consistently excellent results.
Serving Suggestions and Pairings
Once your Crunchy Golden Oven-Baked Chicken Cutlets are out of the oven and rested, it’s time to think about serving them. This dish is incredibly versatile and can be presented in various ways.
Creative Ways to Serve Your Chicken Cutlets
Consider creating a chicken cutlet sandwich with your favorite toppings, or serve the cutlets atop a fresh salad for a lighter meal. You can also slice them and incorporate them into pasta dishes or serve them with a dipping sauce for a fun appetizer.
Suggested Side Dishes to Complement the Meal
To round out your meal, pair your chicken cutlets with delicious side dishes. Some excellent options include:
– Garlic Mashed Potatoes: Creamy and flavorful, this classic side pairs perfectly with the crunchy cutlets.
– Roasted Vegetables: A mix of seasonal vegetables roasted to perfection adds color and nutritional value to your plate.
– Coleslaw: The crunchiness of coleslaw complements the chicken cutlets beautifully, providing a refreshing contrast.
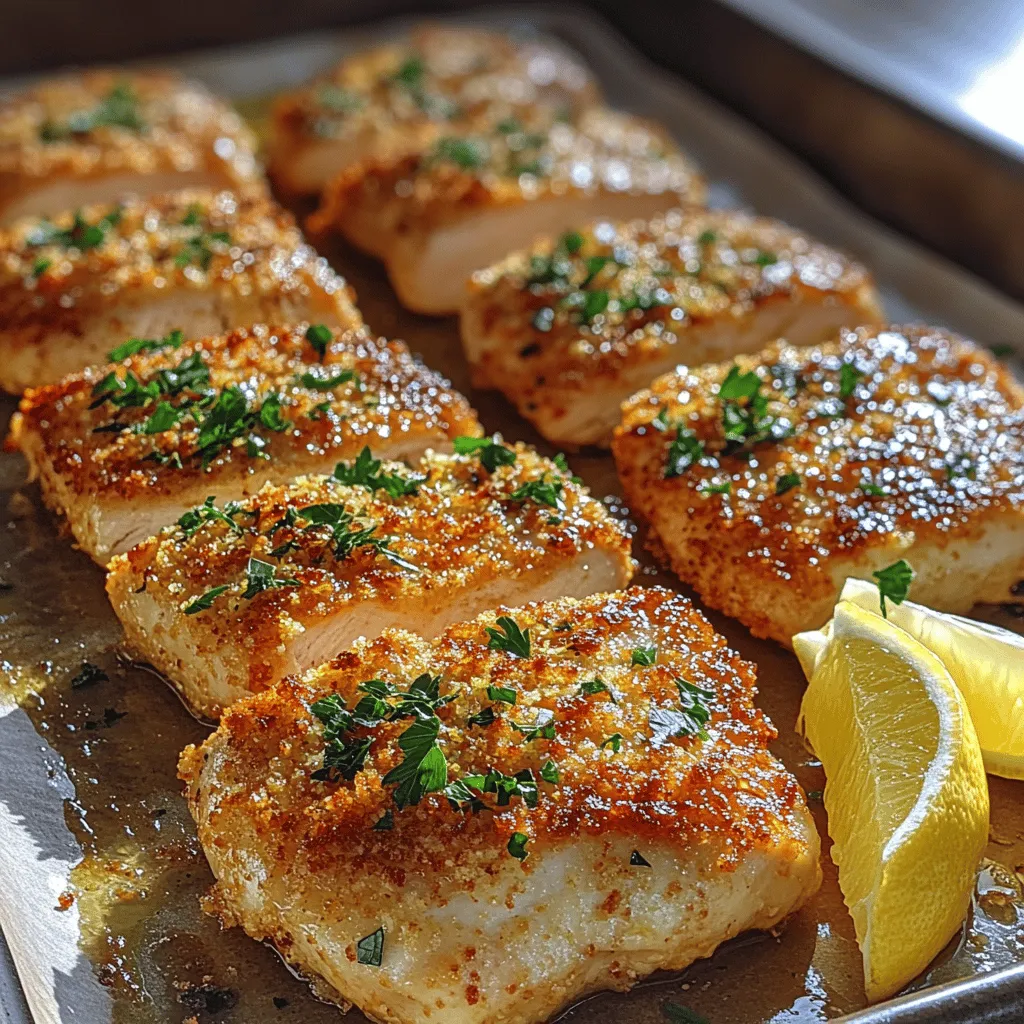
The Importance of Garnishing with Fresh Herbs
A sprinkle of fresh herbs can elevate your dish’s presentation and flavor. Consider garnishing your chicken cutlets with chopped parsley, basil, or cilantro. Not only do they add a pop of color, but they also enhance the overall taste.
Enhancing Flavor with Lemon Wedges
Don’t forget to serve lemon wedges alongside your chicken cutlets. A squeeze of fresh lemon juice adds brightness and acidity that complements the richness of the chicken and breadcrumbs.
Conclusion
Crunchy Golden Oven-Baked Chicken Cutlets represent a perfect blend of convenience, health, and taste. By following this detailed guide, you can create a dish that not only satisfies hunger but also impresses family and friends alike. Enjoy the process of cooking, and savor the delightful flavors that come from your kitchen. Embrace the versatility of this dish and make it a staple in your culinary repertoire.
With the right techniques and creative serving suggestions, your chicken cutlets will become a favorite at any dinner table. Don’t hesitate to experiment with flavors and sides, and always remember that the joy of cooking lies in making dishes that you love. Happy cooking!