Creamy No-Bake Cheesecake Cups: A Delightful Dessert Experience

WANT TO SAVE THIS RECIPE?

Introduction

In recent years, no-bake desserts have surged in popularity, captivating the hearts and palates of dessert lovers everywhere. The appeal of these treats lies in their simplicity and the ease with which they can be prepared, making them a go-to choice for both novice and experienced bakers alike. Among the vast array of no-bake options, Creamy No-Bake Cheesecake Cups stand out as a delightful and indulgent dessert that requires minimal effort but delivers maximum flavor.

These cheesecake cups are not only easy to prepare, but they also offer a versatile canvas for creativity. Whether you’re hosting a summer garden party, celebrating a birthday, or simply satisfying your sweet tooth, these cheesecake cups can be tailored to suit any occasion. With their elegant presentation and rich, creamy texture, they are sure to impress guests and family alike.

The Allure of No-Bake Cheesecakes

No-bake desserts are an ingenious solution for those who want to create something special without the hassle of turning on the oven. The concept is simple: by using ingredients that set without the need for baking, you can whip up a delicious treat in no time. This method not only saves energy but also simplifies the cooking process, making it accessible to anyone who wants to try their hand at dessert-making.

One of the most beloved no-bake desserts is cheesecake. Its creamy consistency and rich flavor make it a favorite among dessert enthusiasts around the globe. Cheesecake has a storied history, dating back to ancient Greece, where it was served to athletes during the first Olympic Games. Over the centuries, this delectable dessert has evolved into many variations, but the traditional creamy texture and flavor remain at its core.

The benefits of no-bake cheesecakes are plentiful. For one, they require fewer ingredients and less time than their baked counterparts. Additionally, the absence of heat allows the flavors to meld beautifully, resulting in a smooth and luscious texture that is simply irresistible. Whether you prefer a classic flavor or wish to experiment with unique ingredients, no-bake cheesecakes offer endless possibilities.

Ingredients Breakdown for No-Bake Cheesecake Cups

To create the perfect Creamy No-Bake Cheesecake Cups, having the right ingredients is crucial. Each component plays an important role in achieving that signature rich and creamy texture that cheesecake lovers adore. Here’s a detailed breakdown of the key ingredients you will need:

Crust Ingredients

Graham Cracker Crumbs: The foundation of your cheesecake cups, graham cracker crumbs provide a sweet, crunchy base that contrasts beautifully with the creamy filling. They are easy to work with and require no baking, making them perfect for a no-bake dessert.

Sugar: A touch of granulated sugar enhances the sweetness of the crust, balancing the flavors and ensuring that the base is not only crunchy but also pleasantly sweet.

Butter: Melted butter acts as a binding agent for the graham cracker crumbs, helping to hold the crust together. It adds richness and flavor, contributing to the overall deliciousness of the dessert.

Cheesecake Filling Ingredients

Cream Cheese: This is the star of the show. Cream cheese provides the rich, creamy texture that cheesecake is famous for. It should be at room temperature for easier mixing, which helps to achieve a smooth consistency.

Sugar: Just like in the crust, sugar is essential in the filling. It sweetens the cream cheese and balances the tartness, resulting in a well-rounded flavor.

Vanilla Extract: A splash of vanilla extract enhances the overall flavor profile, adding warmth and depth to the cheesecake filling. It’s a simple ingredient that makes a big difference.

Heavy Cream: Whipping heavy cream into soft peaks and folding it into the cream cheese mixture creates a light and airy texture. This is what gives no-bake cheesecakes their signature fluffiness.

Lemon Juice: A hint of fresh lemon juice not only brightens the flavor but also adds a subtle tang that complements the richness of the cream cheese perfectly.

Toppings

While the filling is undeniably delicious on its own, toppings can elevate your cheesecake cups to the next level. Consider these options:
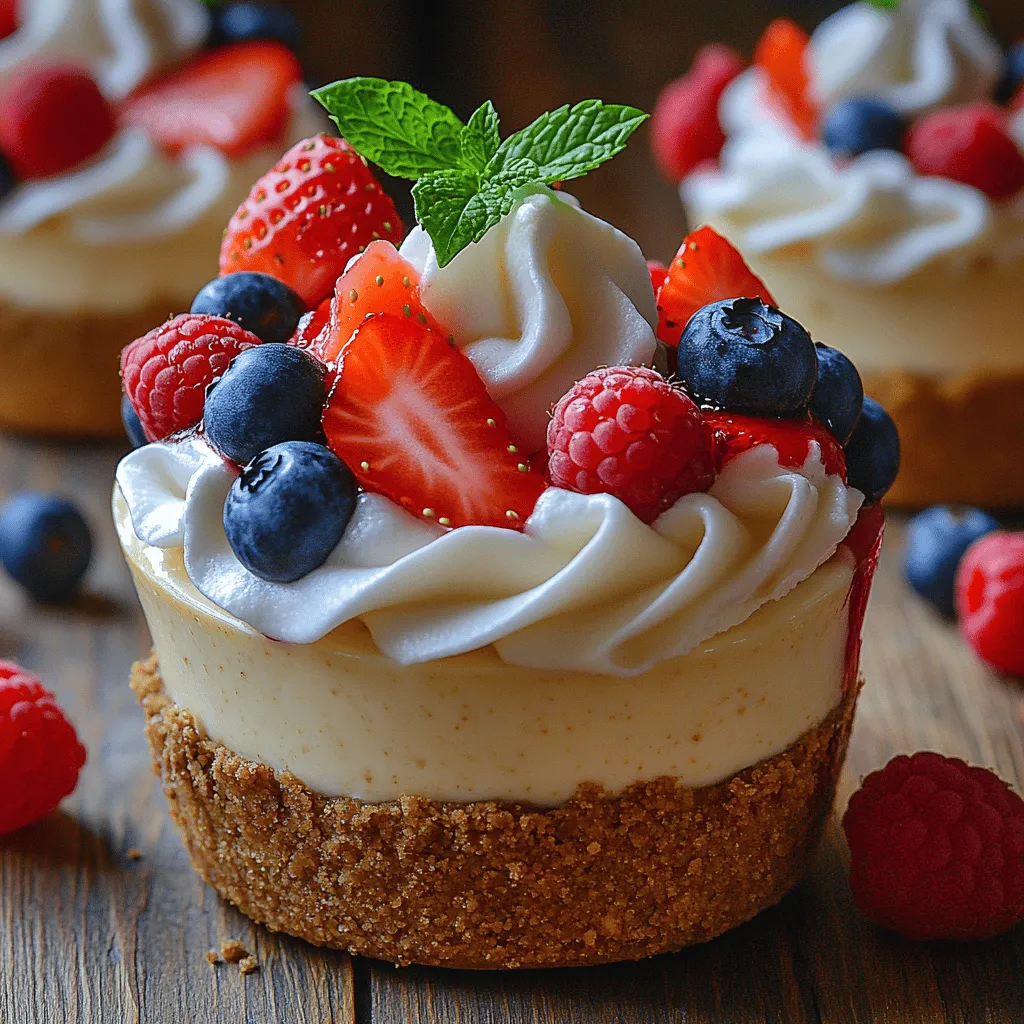
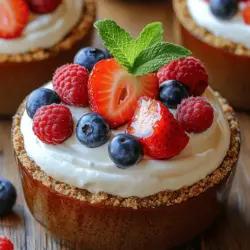
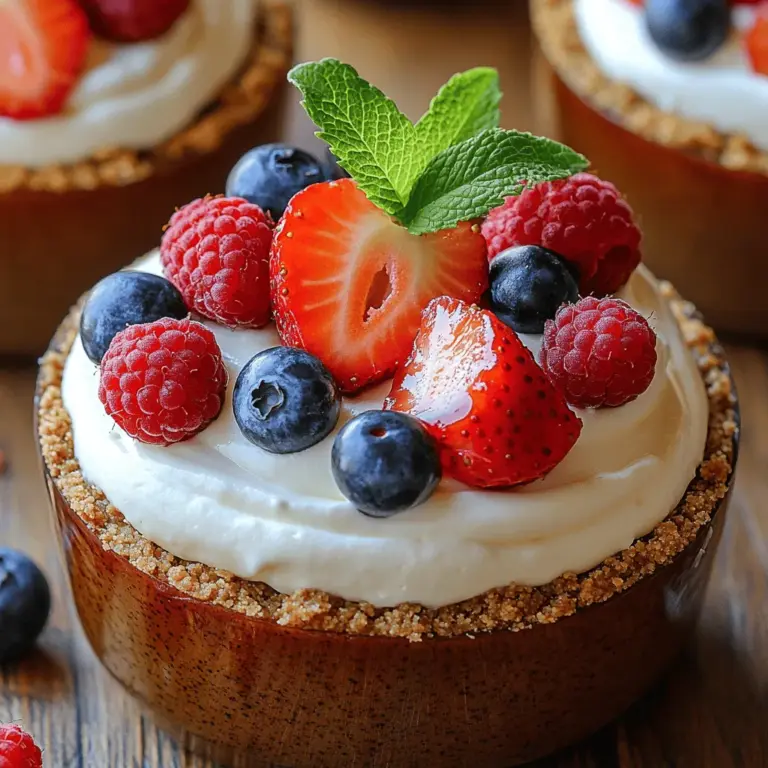
Fresh Berries: Strawberries, blueberries, and raspberries not only look gorgeous atop cheesecake cups but also add a refreshing burst of flavor. Their natural sweetness and acidity contrast wonderfully with the creamy filling.

Whipped Cream: A dollop of whipped cream adds an extra layer of richness and a beautiful presentation. It also enhances the overall texture of the dessert.

Mint Leaves: A sprig of fresh mint can brighten up the dessert visually and add a hint of freshness to each bite.

Step-by-Step Guide to Making Creamy No-Bake Cheesecake Cups

Now that you’re familiar with the ingredients, it’s time to dive into the step-by-step process of making these delightful cheesecake cups. Follow these instructions closely to create a no-bake dessert that is sure to impress.

Preparing the Crust

1. Mix the Ingredients: In a medium-sized mixing bowl, combine 1 cup of graham cracker crumbs with 2 tablespoons of granulated sugar. This mixture should be sweet and crumbly.

2. Add the Butter: Melt 4 tablespoons of unsalted butter in the microwave or on the stovetop. Once melted, pour the butter into the graham cracker mixture. Stir until all the crumbs are evenly coated and the mixture resembles wet sand.

3. Form the Crust: Divide the mixture evenly among your serving cups or glasses (this recipe works well with 6-8 small cups). Using the back of a spoon or your fingers, press the mixture firmly into the bottom of each cup to form an even layer. Make sure to pack it tightly to prevent it from crumbling later.

4. Chill the Crust: Place the cups in the refrigerator for about 10-15 minutes to allow the crust to set and firm up while you prepare the cheesecake filling.

Making the Cheesecake Filling

1. Beat the Cream Cheese: In a large mixing bowl, take 8 ounces of softened cream cheese and beat it with an electric mixer on medium speed until smooth and creamy. This should take about 2 minutes.

2. Add Sugar and Vanilla: Gradually add 1/2 cup of granulated sugar and 1 teaspoon of vanilla extract to the cream cheese. Continue mixing until the mixture is fully incorporated and smooth.

3. Whip the Heavy Cream: In a separate bowl, pour in 1 cup of heavy cream. Using a whisk or an electric mixer, whip the cream until soft peaks form. This usually takes about 3-5 minutes. Be careful not to over-whip, as you want a light and airy texture.

4. Fold in the Whipped Cream: Gently fold the whipped cream into the cream cheese mixture using a spatula. Be careful to maintain the lightness of the whipped cream as you mix. This folding technique will keep the filling airy and fluffy.

5. Add Lemon Juice: Finally, add 1 tablespoon of fresh lemon juice to the mixture and fold it in gently. This will enhance the flavor and provide that signature cheesecake tang.

With the crust prepared and the cheesecake filling ready, you are well on your way to assembling your Creamy No-Bake Cheesecake Cups. In the next section, we will discuss how to layer the filling into your cups, add the toppings, and achieve a stunning presentation for your dessert. Stay tuned for the next steps to complete this delightful culinary experience!

In recent years, no-bake desserts have surged in popularity, captivating the hearts and palates of dessert lovers everywhere. The appeal of these treats lies in their simplicity and the ease with which they can be prepared, making them a go-to choice for both novice and experienced bakers alike. Among the vast array of no-bake options, <strong>Creamy No-Bake Cheesecake Cups</strong> stand out as a delightful and indulgent dessert that requires minimal effort but delivers maximum flavor.” /></p>
</p>
<h3>Assembling the Cheesecake Cups</h3>
</p>
<p>Once your crust and filling are ready, it’s time to assemble the cheesecake cups. This step is crucial in creating a visually appealing dessert that delights both the eyes and the palate.</p>
</p>
<h4>Step-by-Step Guidance on Layering the Crust and Filling</h4>
</p>
<p>1. <strong>Prepare Your Cups</strong>: Start by choosing your serving cups or glasses. Clear glass cups are ideal as they allow the beautiful layers of the cheesecake to shine through. You can use mason jars, shot glasses, or any small dessert cups you have on hand.</p>
</p>
<p>2. <strong>Layer the Crust</strong>: Using a small spoon or a mini spatula, scoop a layer of the prepared crust mixture into each cup. Aim for about 1 to 2 tablespoons of crust at the bottom of each cup. Press down gently with the back of the spoon to compact the mixture. This will create a solid base for your cheesecake filling.</p>
</p>
<p>3. <strong>Add the Cheesecake Filling</strong>: Next, spoon the creamy cheesecake filling over the crust. Fill each cup until it’s about three-quarters full, leaving some space at the top for additional toppings later. For an even distribution, you can use a piping bag fitted with a round tip, or simply use a spoon.</p>
</p>
<p>4. <strong>Eliminate Air Bubbles</strong>: To achieve a smooth finish and eliminate any air bubbles that may have formed in the filling, gently tap the bottom of each cup on the counter. This will help the filling settle and remove trapped air. If you notice any bubbles on the surface, you can use a toothpick to pop them.</p>
</p>
<p>5. <strong>Optional Topping Layer</strong>: If you’re feeling creative, consider adding a thin layer of fruit puree or chocolate sauce on top of the filling before chilling. This adds an extra flavor dimension and enhances the visual appeal.</p>
</p>
<h3>Chilling Process</h3>
</p>
<p>Chilling is a critical step in the no-bake cheesecake cup-making process. It allows the filling to firm up and develop its rich, creamy texture.</p>
</p>
<h4>Explanation of Why Chilling is Essential for Setting the Cheesecake</h4>
</p>
<p>The cooling process is essential for several reasons. First, it helps the gelatin (if used) to set, giving the cheesecake its desired firmness. Second, chilling allows the flavors to meld together, resulting in a more cohesive taste experience. Lastly, serving the cheesecake cold enhances the overall refreshing quality of this dessert.</p>
</p>
<h4>Recommendations for Optimal Chilling Time for Best Results</h4>
</p>
<p>For the best results, cover the cheesecake cups with plastic wrap or a lid and refrigerate them for at least 4 to 6 hours. If time allows, chilling them overnight is ideal, as it gives the filling ample time to set perfectly. If you’re in a hurry, aim for a minimum of 2 hours, but keep in mind that the texture may not be as firm.</p>
</p>
<h3>Serving Suggestions for No-Bake Cheesecake Cups</h3>
</p>
<p>Once your cheesecake cups have chilled and set beautifully, it’s time to serve them. Here are some delightful serving suggestions to elevate your dessert experience:</p>
</p>
<h4>Ideas on Garnishing with Fresh Berries and Whipped Cream</h4>
</p>
<p>Garnishing your no-bake cheesecake cups can take them from simple to stunning. Consider topping each cup with a dollop of freshly whipped cream for added richness. Fresh berries—such as strawberries, blueberries, or raspberries—add a burst of color and a refreshing tartness that contrasts beautifully with the creamy filling. You can also sprinkle some crushed graham crackers on top for an added crunch.</p>
</p>
<h4>Discussion on Various Flavor Variations and Customization Options</h4>
</p>
<p>The beauty of no-bake cheesecake cups lies in their versatility. While the classic vanilla flavor is a crowd-pleaser, you can easily customize these cups to suit your taste:</p>
</p>
<p>– <strong>Chocolate Cheesecake Cups</strong>: Add melted chocolate to the filling for a rich chocolate flavor. Top with chocolate shavings for an elegant touch.</p>
<p>– <strong>Caramel Cheesecake Cups</strong>: Swirl in some caramel sauce into the filling or drizzle it on top before serving for a sweet and salty contrast.</p>
<p>– <strong>Fruit-Infused Cheesecake Cups</strong>: Blend in pureed fruits like mango or strawberries into the cheesecake filling for a fruity twist.</p>
<p>– <strong>Lemon or Lime Cheesecake Cups</strong>: Add citrus zest and juice to the filling for a refreshing zing.</p>
</p>
<p>These customization options make the no-bake cheesecake cups perfect for various occasions and personal preferences.</p>
</p>
<h4>Suggestions for Ideal Occasions to Serve These Cheesecake Cups</h4>
</p>
<p>No-bake cheesecake cups are a delightful dessert for numerous occasions. Here are a few ideas:</p>
</p>
<p>– <strong>Parties and Gatherings</strong>: Their individual servings make them perfect for parties, allowing guests to enjoy a sweet treat without the need for slicing.</p>
<p>– <strong>Holidays</strong>: Dress them up with seasonal toppings, such as cranberries for Thanksgiving or peppermint for Christmas, to make them festive.</p>
<p>– <strong>Casual Family Dinners</strong>: These cups can be whipped up quickly for a weeknight dessert that everyone will love.</p>
<p>– <strong>Picnics and Outdoor Events</strong>: Pack them in a cooler to bring along for a sweet ending to your outdoor gatherings.</p>
</p>
<h3>Nutritional Information and Serving Size</h3>
</p>
<p>Understanding the nutritional profile of your dessert is essential, especially if you’re mindful of dietary considerations.</p>
</p>
<h4>Overview of the Nutritional Aspects of the Dessert</h4>
</p>
<p>These no-bake cheesecake cups are a delightful treat, but they can be modified to align with different dietary goals. Here’s a general overview of the nutritional aspects:</p>
</p>
<p>– <strong>Calories</strong>: Each cup typically contains around 200-300 calories, depending on the ingredients used, particularly the cream cheese and sugar.</p>
<p>– <strong>Fat</strong>: The cream cheese and heavy cream contribute to the fat content, which can be reduced by using low-fat cream cheese or Greek yogurt.</p>
<p>– <strong>Sugar</strong>: Adjusting the amount of sugar or using a sugar substitute can cater to those watching their sugar intake.</p>
<p>– <strong>Carbohydrates</strong>: The crust primarily contributes to the carbohydrate count; consider using whole-grain or nut-based crust options for healthier alternatives.</p>
</p>
<h4>Breakdown of Serving Size and Its Impact on Dietary Considerations</h4>
</p>
<p>A standard serving size for these cheesecake cups is typically one cup. Depending on your dietary needs, you can adjust the portion size. For those looking to enjoy the dessert while keeping calorie intake in check, half a cup can still provide a satisfying taste without overindulging.</p>
</p>
<h3>Why This Recipe is a Must-Try</h3>
</p>
<p>This creamy no-bake cheesecake cups recipe stands out for several reasons, making it a must-try for dessert lovers.</p>
</p>
<h4>Unique Features of the No-Bake Cheesecake Cups Compared to Traditional Baked Cheesecakes</h4>
</p>
<p>Unlike traditional baked cheesecakes, no-bake versions require minimal cooking time and equipment. There’s no need to worry about cracking or baking at the right temperature, making this an accessible dessert for all skill levels. The no-bake method allows for a creamy, velvety texture that many find irresistible.</p>
</p>
<h4>Emphasis on the Ease of Preparation and Minimal Cooking Time</h4>
</p>
<p>The preparation of these cheesecake cups is straightforward, requiring only a handful of ingredients and minimal hands-on time. Additionally, there’s no need for baking, which means less time in the kitchen and more time enjoying the finished product with loved ones. This simplicity makes the recipe perfect for both novice and experienced bakers.</p>
</p>
<h4>Insights into the Overall Satisfaction of Making and Enjoying This Dessert</h4>
</p>
<p>There’s something incredibly satisfying about creating a dessert that not only looks beautiful but also tastes fantastic. The joy of layering the ingredients and the anticipation of serving them to friends and family adds to the overall experience. Each bite of these creamy cheesecake cups delivers a delightful explosion of flavor, making them a favorite for any dessert table.</p>
</p>
<h3>Conclusion</h3>
</p>
<p>In summary, creamy no-bake cheesecake cups are a versatile and delicious dessert option that can be enjoyed year-round. Their unique attributes, including ease of preparation and customizable flavors, make them a great choice for various occasions. With the right garnishes and presentations, these cheesecake cups are sure to impress your guests and leave them craving more.</p>
</p>
<p>Whether you’re hosting a gathering, celebrating a special occasion, or simply indulging yourself, these cheesecake cups will provide a delightful experience. So gather your ingredients, follow the steps, and enjoy the creamy goodness of no-bake cheesecake cups with friends and family. Share the joy of this delicious treat and make it a staple in your dessert repertoire!</p>
</div>

In recent years, no-bake desserts have surged in popularity, captivating the hearts and palates of dessert lovers everywhere. The appeal of these treats lies in their simplicity and the ease with which they can be prepared, making them a go-to choice for both novice and experienced bakers alike. Among the vast array of no-bake options, Creamy No-Bake Cheesecake Cups stand out as a delightful and indulgent dessert that requires minimal effort but delivers maximum flavor.

No-Bake Cheesecake Cups

Indulge in the creamy delight of No-Bake Cheesecake Cups, a simple yet sophisticated dessert perfect for any occasion! These easy-to-make cups combine a crunchy graham cracker crust with a rich, fluffy cream cheese filling that requires no baking. Make them your own by adding fresh berries, whipped cream, or experimenting with flavors like chocolate or lemon. Ideal for parties or casual nights at home, these delicious treats will surely impress everyone!

Ingredients
  

For the crust:

1 cup graham cracker crumbs

1/4 cup granulated sugar

1/2 cup unsalted butter, melted

For the cheesecake filling:

16 oz cream cheese, softened

1/2 cup granulated sugar

1 teaspoon vanilla extract

1 cup heavy whipping cream

2 tablespoons lemon juice

For the topping:

Fresh berries (strawberries, blueberries, or raspberries)

Whipped cream (optional)

Mint leaves (for garnish)

Instructions
 

Prepare the crust: In a medium bowl, combine the graham cracker crumbs, granulated sugar, and melted butter. Mix until the crumbs are evenly coated and resemble wet sand.

    Layer the crust: Divide the crust mixture among the bottom of serving cups or glasses. Press it down gently to form a compact layer. Set aside.

      Make the cheesecake filling: In a large mixing bowl, using an electric mixer, beat the softened cream cheese and sugar until smooth and creamy. Add the vanilla extract and lemon juice, and blend well until fully combined.

        Whip the cream: In a separate bowl, whip the heavy cream until stiff peaks form. Gently fold the whipped cream into the cream cheese mixture until fully integrated. Be careful not to deflate the whipped cream to keep the filling airy and light.

          Assemble the cups: Spoon or pipe the cheesecake filling over the crust layer in each cup, filling to the top. Tap the cups gently on the counter to eliminate air bubbles.

            Chill: Cover each cup with plastic wrap and refrigerate for at least 4 hours, or preferably overnight, to allow the cheesecake to set.

              Serve: Before serving, top each cheesecake cup with fresh berries, a dollop of whipped cream, and a sprig of mint for a fresh touch.

                Enjoy: Dig in with a spoon and savor the creamy goodness of your no-bake cheesecake cups!

                  Prep Time, Total Time, Servings: 20 minutes | 4+ hours chilling | 6 servings

                    WANT TO SAVE THIS RECIPE?

                    Leave a Comment

                    Recipe Rating